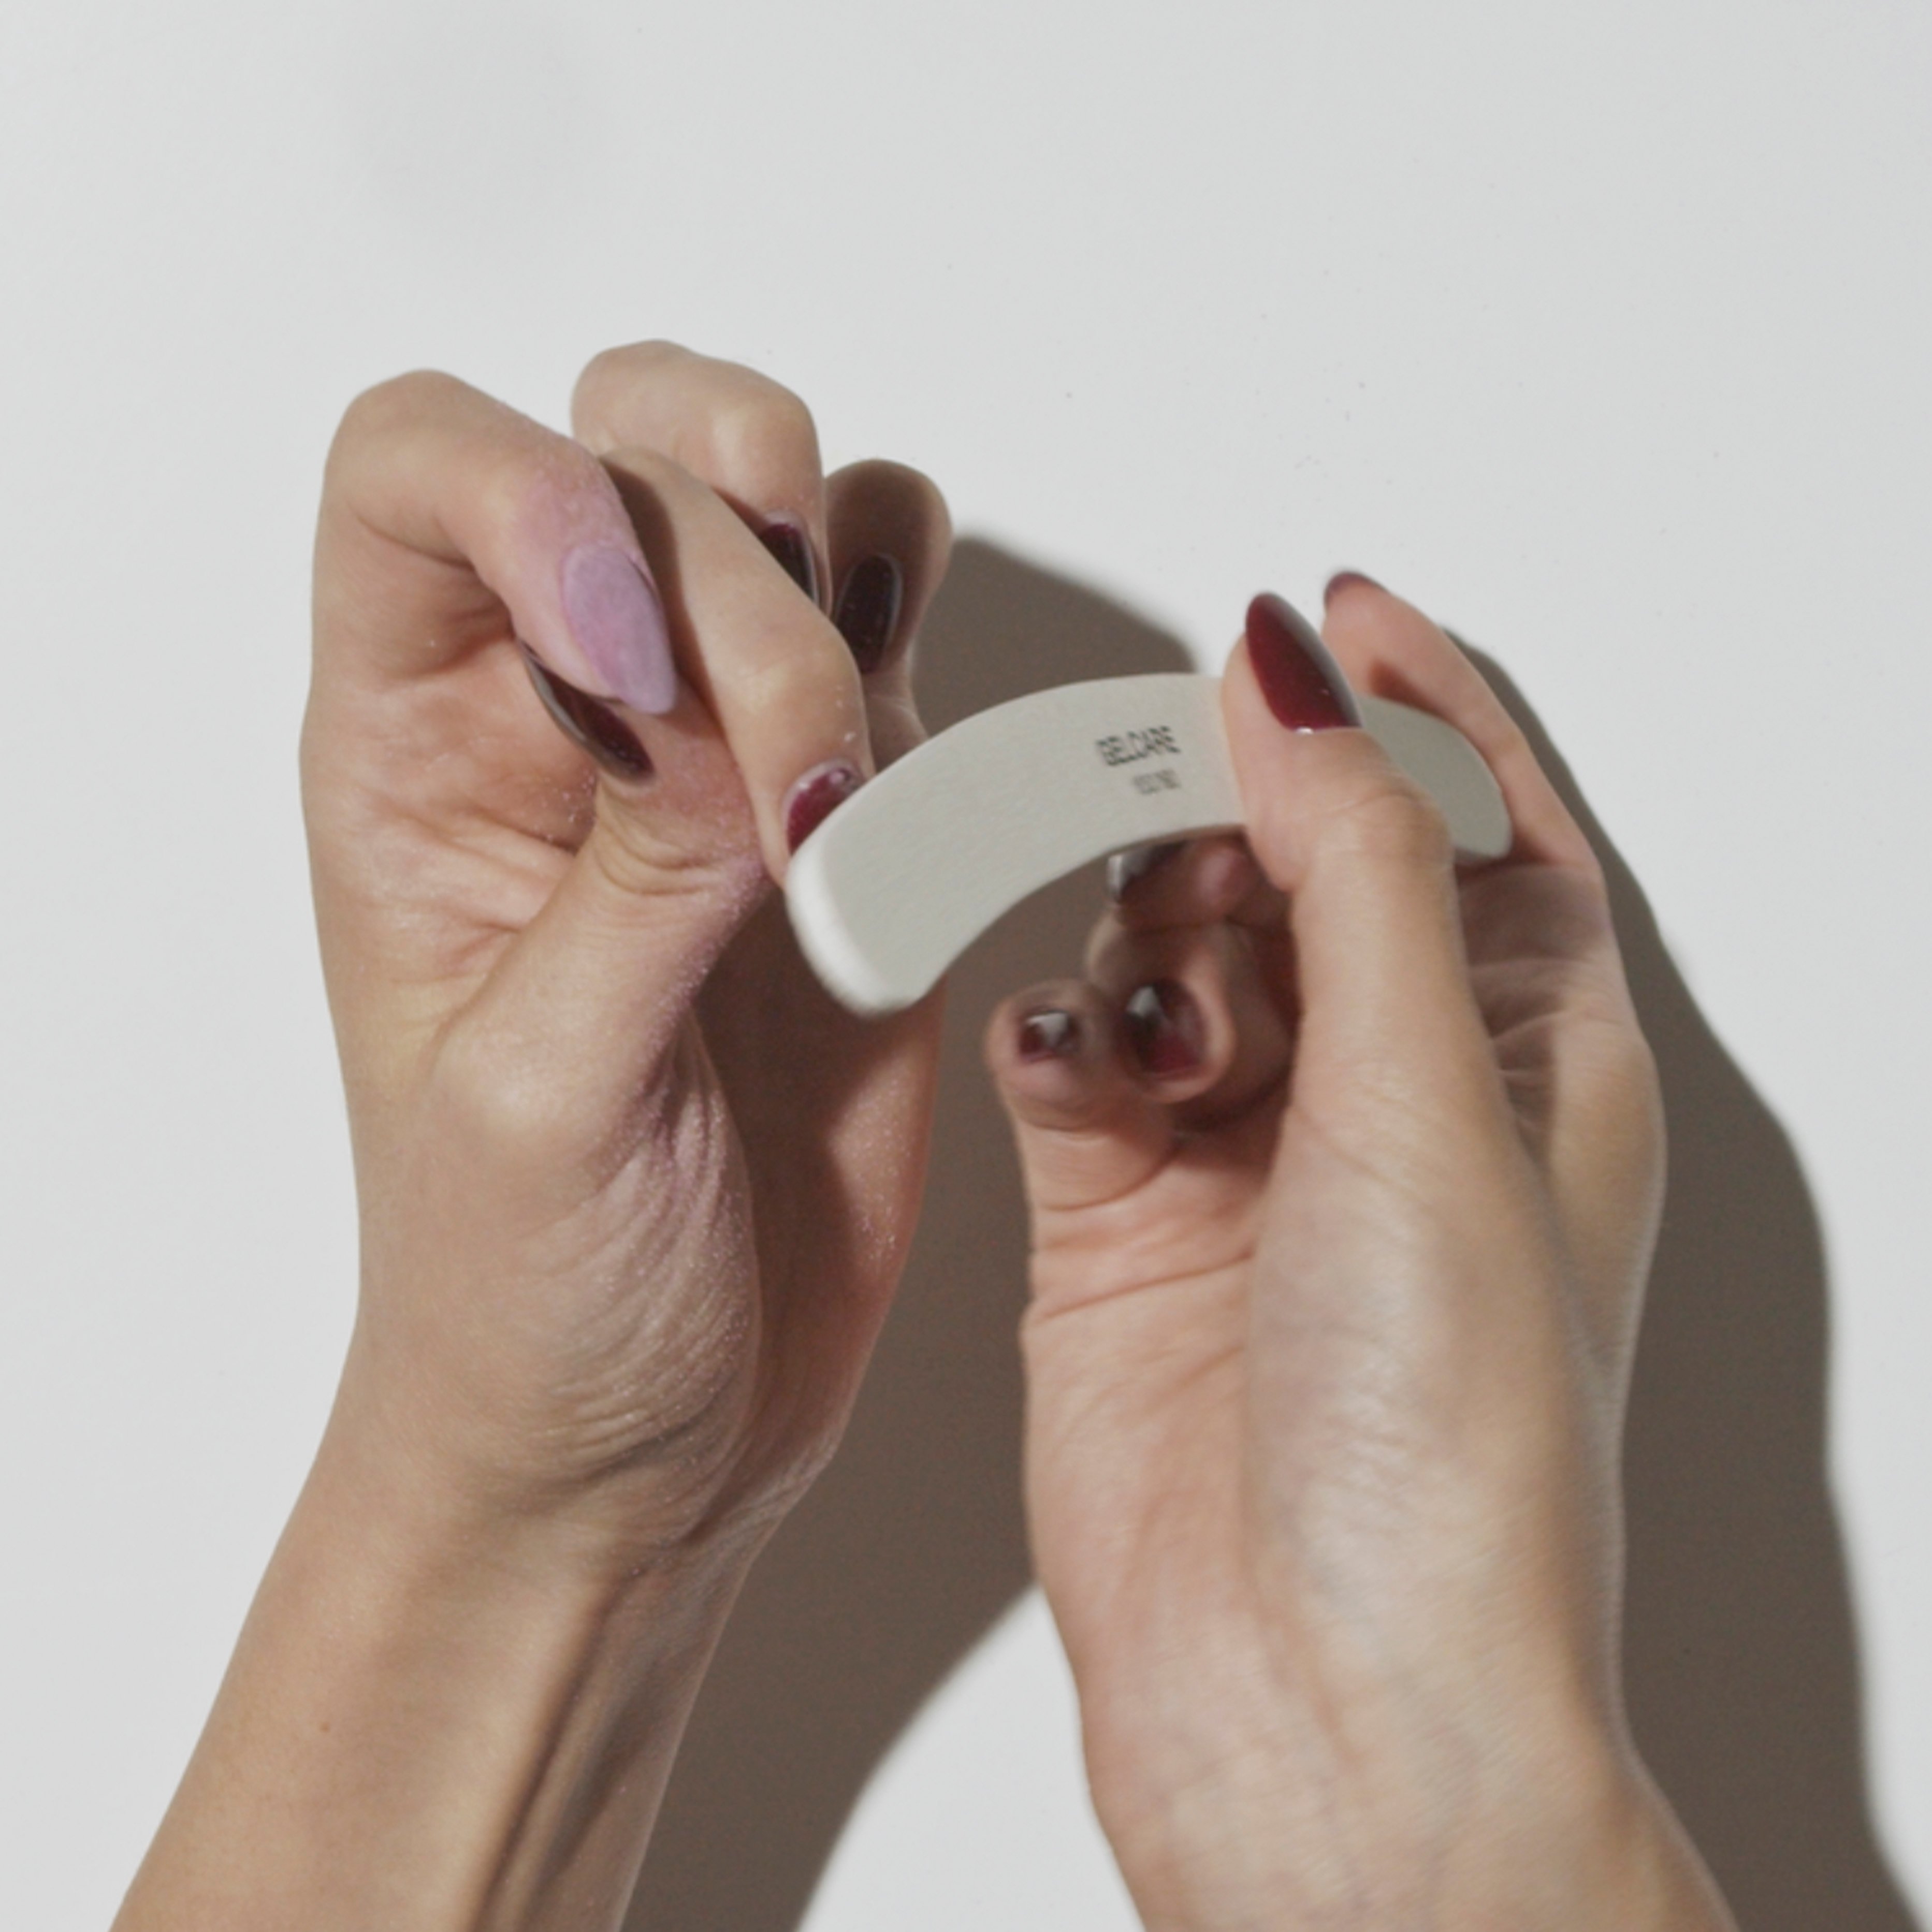
1. File Off 80% of the Gel
File off 80% of the gel’s surface using the more abrasive side of the Curved Nail File (100). File off the layers of colour down to the base coat, ensuring never to file the natural nail.
1 / 6


Our Manicure Starter Kit packs all the essentials to make your own gel nails at home. Create endless manicures for what you'd spend on four salon appointments. Complete your set by selecting shades that speak to you, and you're all set.
Our GELCARE Starter Kit includes our updated LED Nail Lamp. Featuring a digital dial with 10, 60, and 180-second curing timers specifically designed for the GELCARE manicure and equipped with a North American plug (Type A/B), the lamp includes more LED bulbs than ever before and now has 54 watts of power for optimal curing. The design was also revamped with a brand new off-white colour for a cleaner look.


Introducing our new Heating Mittens, the ultimate tool for a faster gel removal. Now exclusively designed by GELCARE with enhanced comfort and durability, these mittens are crafted from soft, silky smooth polyvinyl. Experience effortless temperature control with three heat settings and a safe auto-shutoff feature.


This high-quality rip-proof foil is designed to make your life easier, as we all know that removal is our least favourite part of becoming your own nail artist. Simply cut, wrap and you are good to go.


DESIGNED FOR AT-HOME USE You spoke, and we listened. Our updated LED Nail Lamp features a digital dial with 10, 60, and 180-second curing timers specifically designed for the GELCARE manicure. The lamp includes more LED bulbs than ever before and now has 54 watts of power for optimal curing. The design was also revamped with a brand new off-whit...

![[bottle]](https://cdn.shopify.com/s/files/1/0743/0632/2725/files/BaseCoat_B-073_Bottle.jpg?v=1710952970&width=100&height=150&crop=center)
This base coat has been specially formulated to limit allergic reactions caused when the gel comes into regular contact with the skin. This gel does not contain HEMA, one of the main ingredients that causes allergic reactions to gel polish.


An ultra-glossy top coat that seals your manicure. We recommend curing the Top Coat for 3 minutes for maximum shine. This Top Coat is designed to help level your artwork and create a smooth final surface.


This 100% naturally derived oil hydrates, purifies and fortifies the nail matrix. Formulated to visibly reduce dryness around the cuticle area and protect the nails from external aggressors. Scented with a mix of floral and herbaceous essential oils.


This natural cuticle softener combines alpha hydroxy acids and hydrating agents to effectively soften dry, stubborn skin around the nail and facilitate nail prep. Cleansing experience is enhanced by the scent of fresh laundry. Sulfate & paraben free.


These removal pads are made of 100% triple-layered cotton and uniquely manufactured to make the removal of gel and nail polish both easier and safer. 100 pads per box.


These touch-up pads are made of a pressed, lint-free mesh. Use them to touch up or remove any uncured gel nail polish. Guaranteed to not leave any fuzz behind. 150 pads per box.


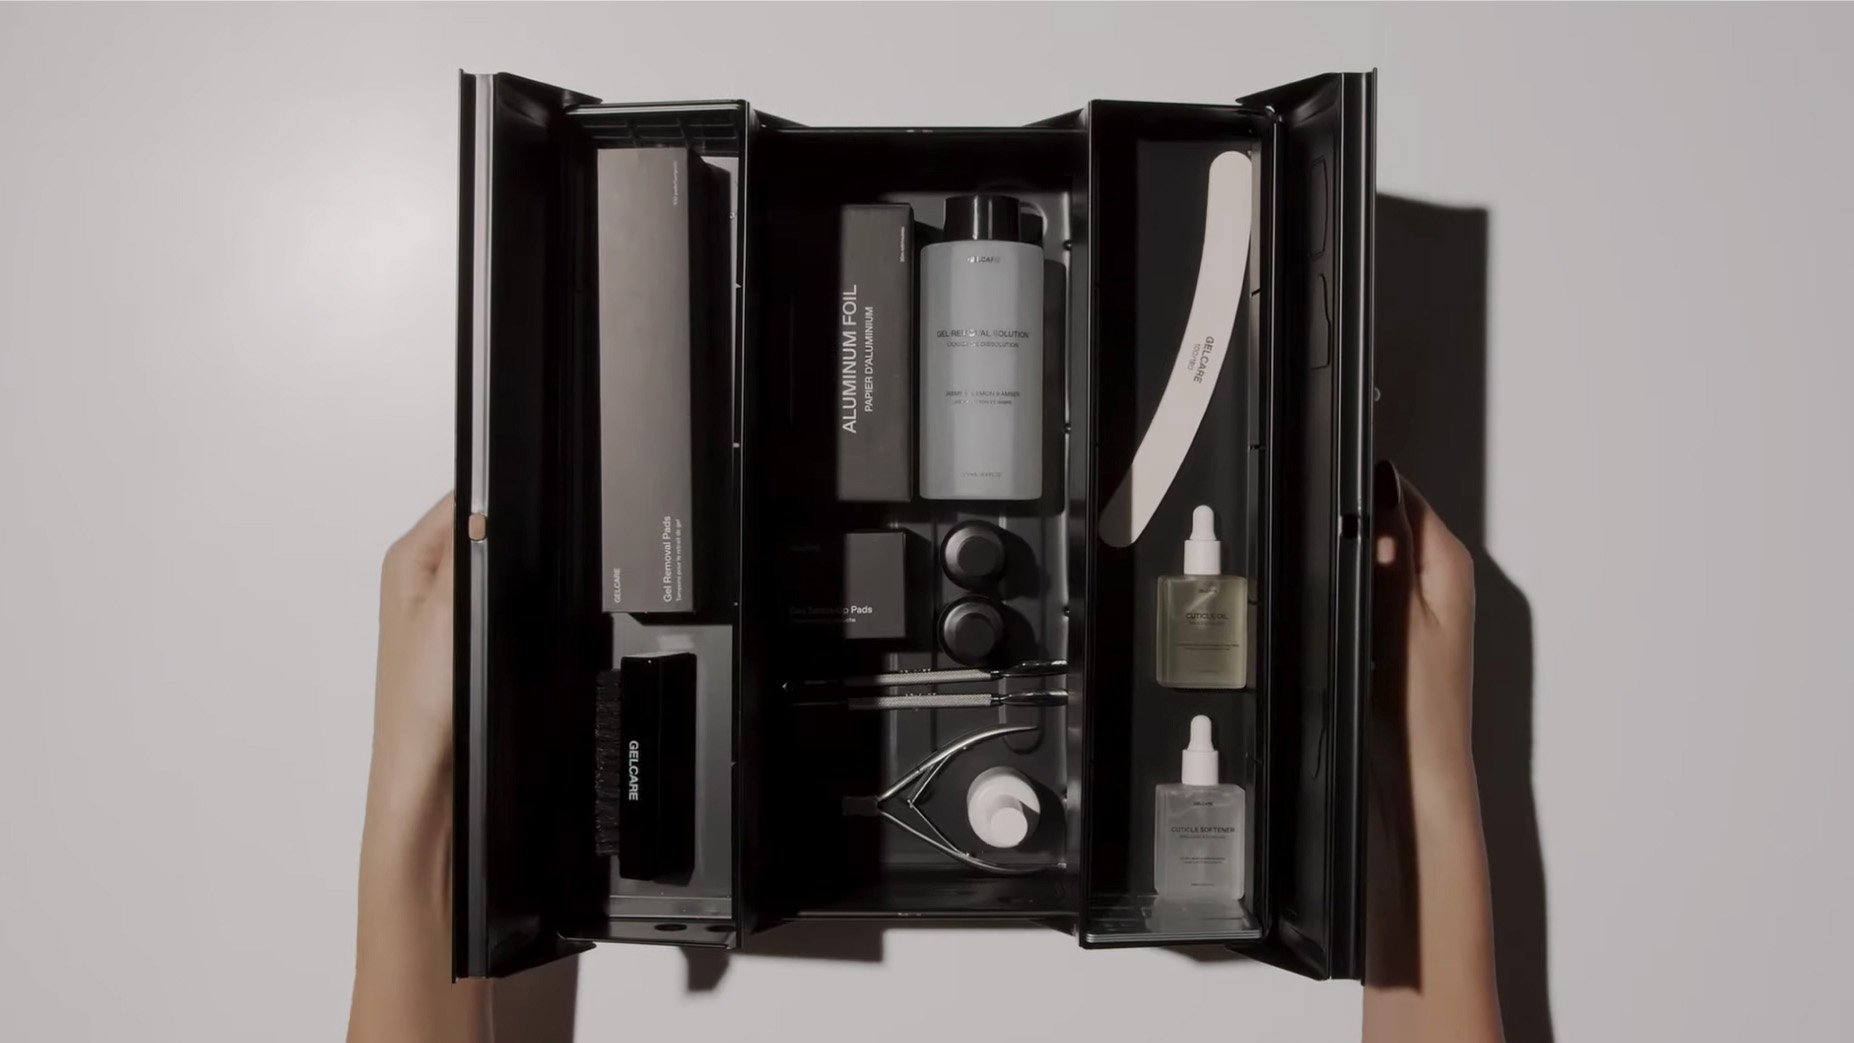
This doubled ended tool is a must have for both gel or polish removal and cuticle cleaning. Features a bladed scraper, scooped cuticle pusher and non-slip grooved handle.


These stainless steel nippers are designed for precise cuticle cutting and maximum control. The double spring handle provides even tension to give you the highest possible comfort and grip.


This 100/180 grit curved file features a cushioned core that glides smoothly over nails for added filing comfort. Doubled side for multi-functional use - the only file you need to become your own nail artist.


A question we get asked a lot is why do we buff? Buffing not only smoothes the nail surface, it allows for better Base Coat adhesion by creating a subtle texture on the surface of the nails. This buffing block features 3 gritted sides and a bouncy foam core so you can buff at your best.
Explore our step-by-step video tutorial below for visual guidance, or enhance your skillset by downloading our comprehensive manicure instruction booklet.

File off 80% of the gel’s surface using the more abrasive side of the Curved Nail File (100). File off the layers of colour down to the base coat, ensuring never to file the natural nail.
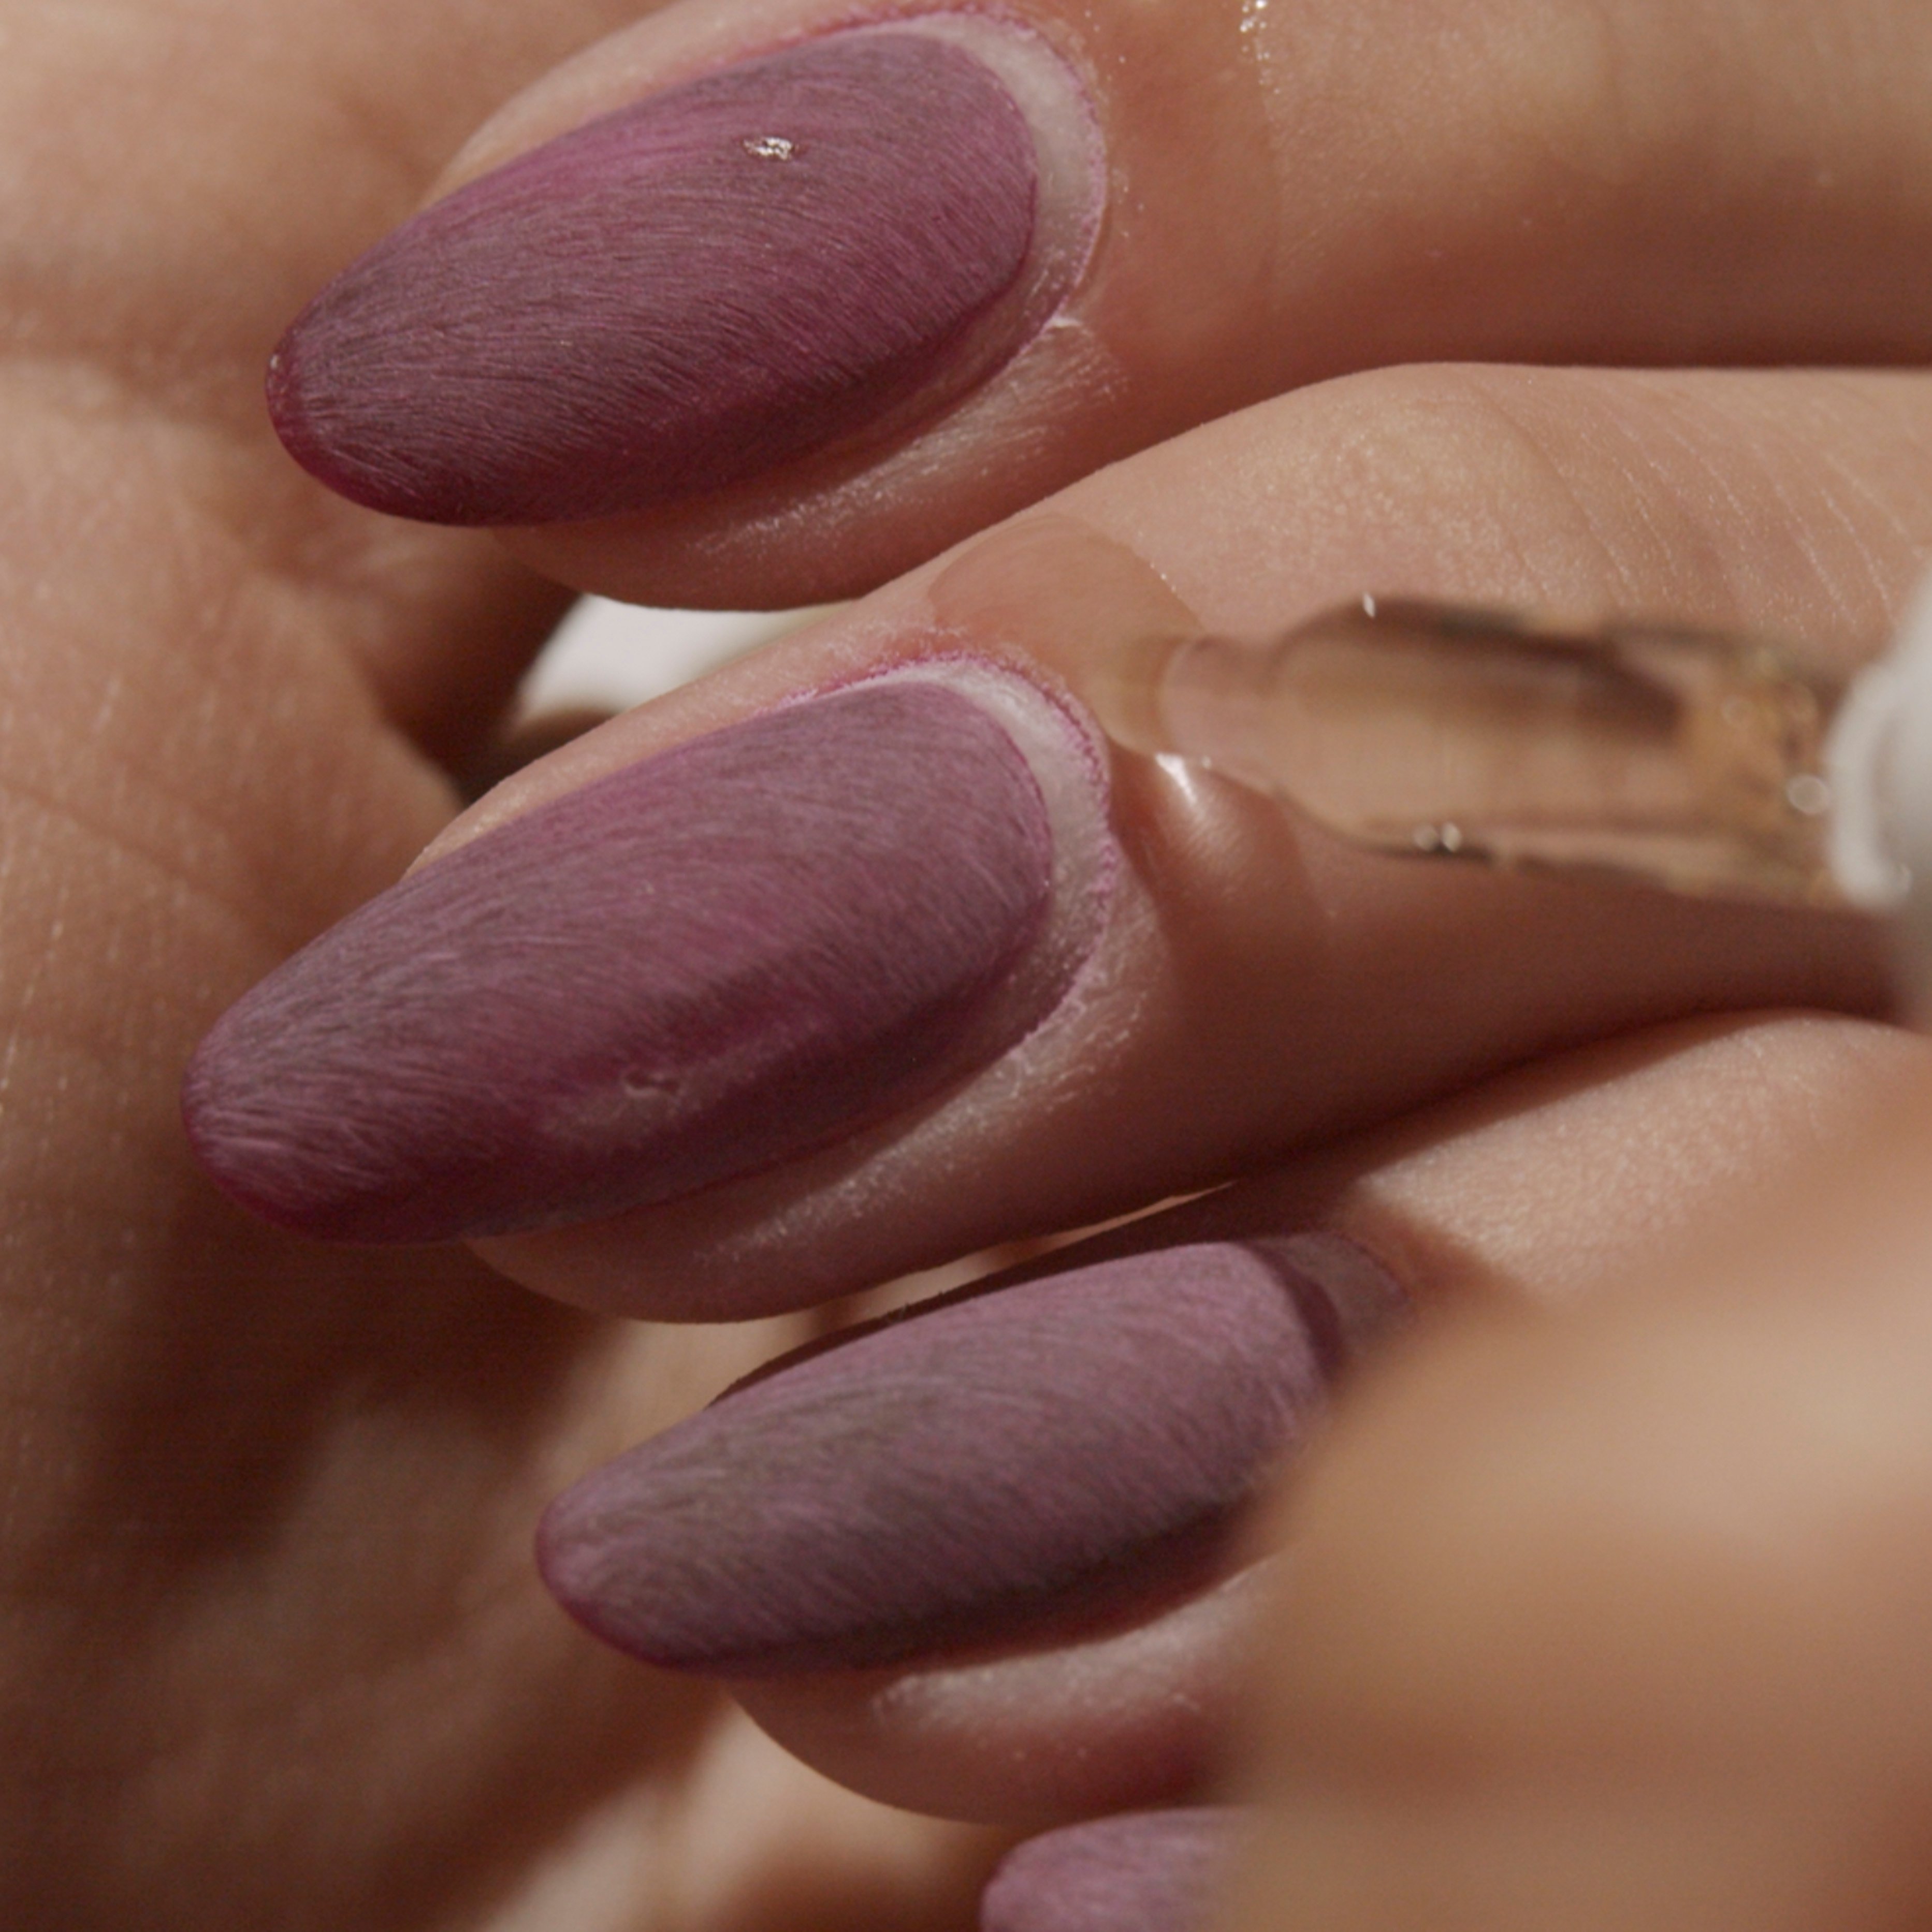
Before you wrap your nails, apply Cuticle Oil to hydrate the skin around the nails. Cuticle Oil also protects the skin during gel removal and helps the gel lift faster.
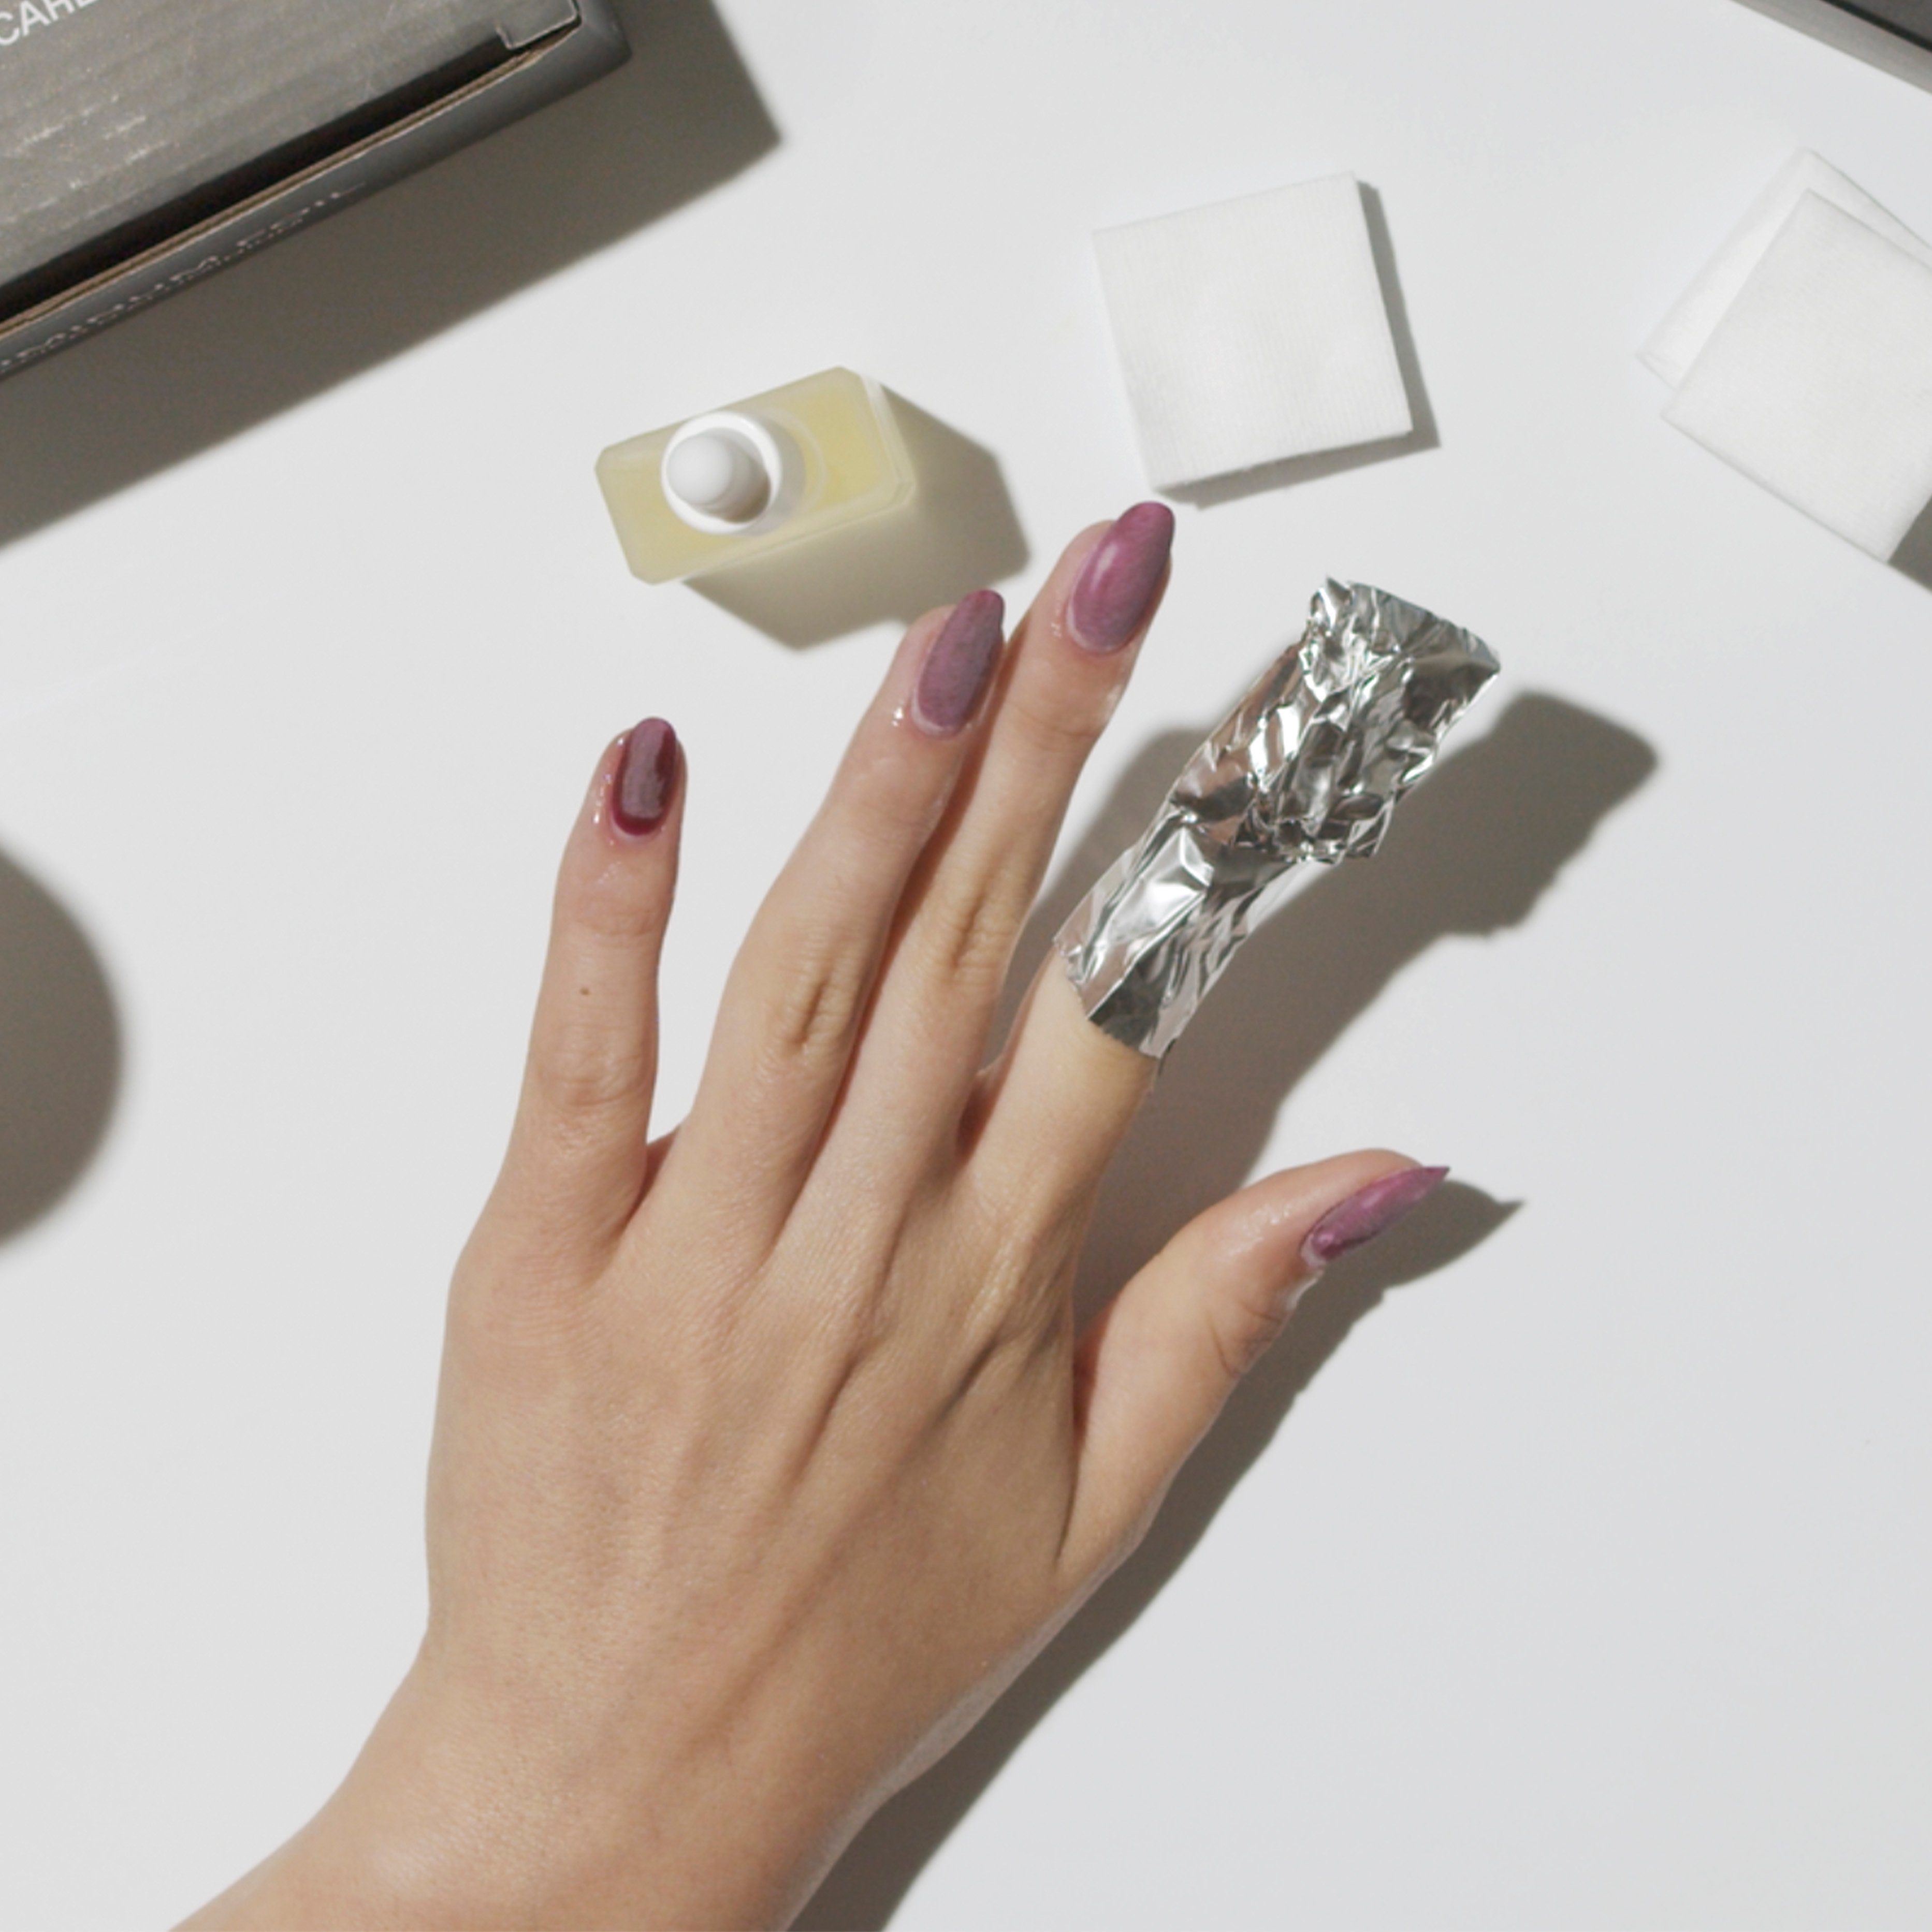
Wrap each nail with a Gel Removal Pad, soaked in Gel Removal Solution, and Aluminum Foil. Make sure that the Gel Removal Pad covers the entire nail plate and that the Aluminum Foil is secure around each finger.
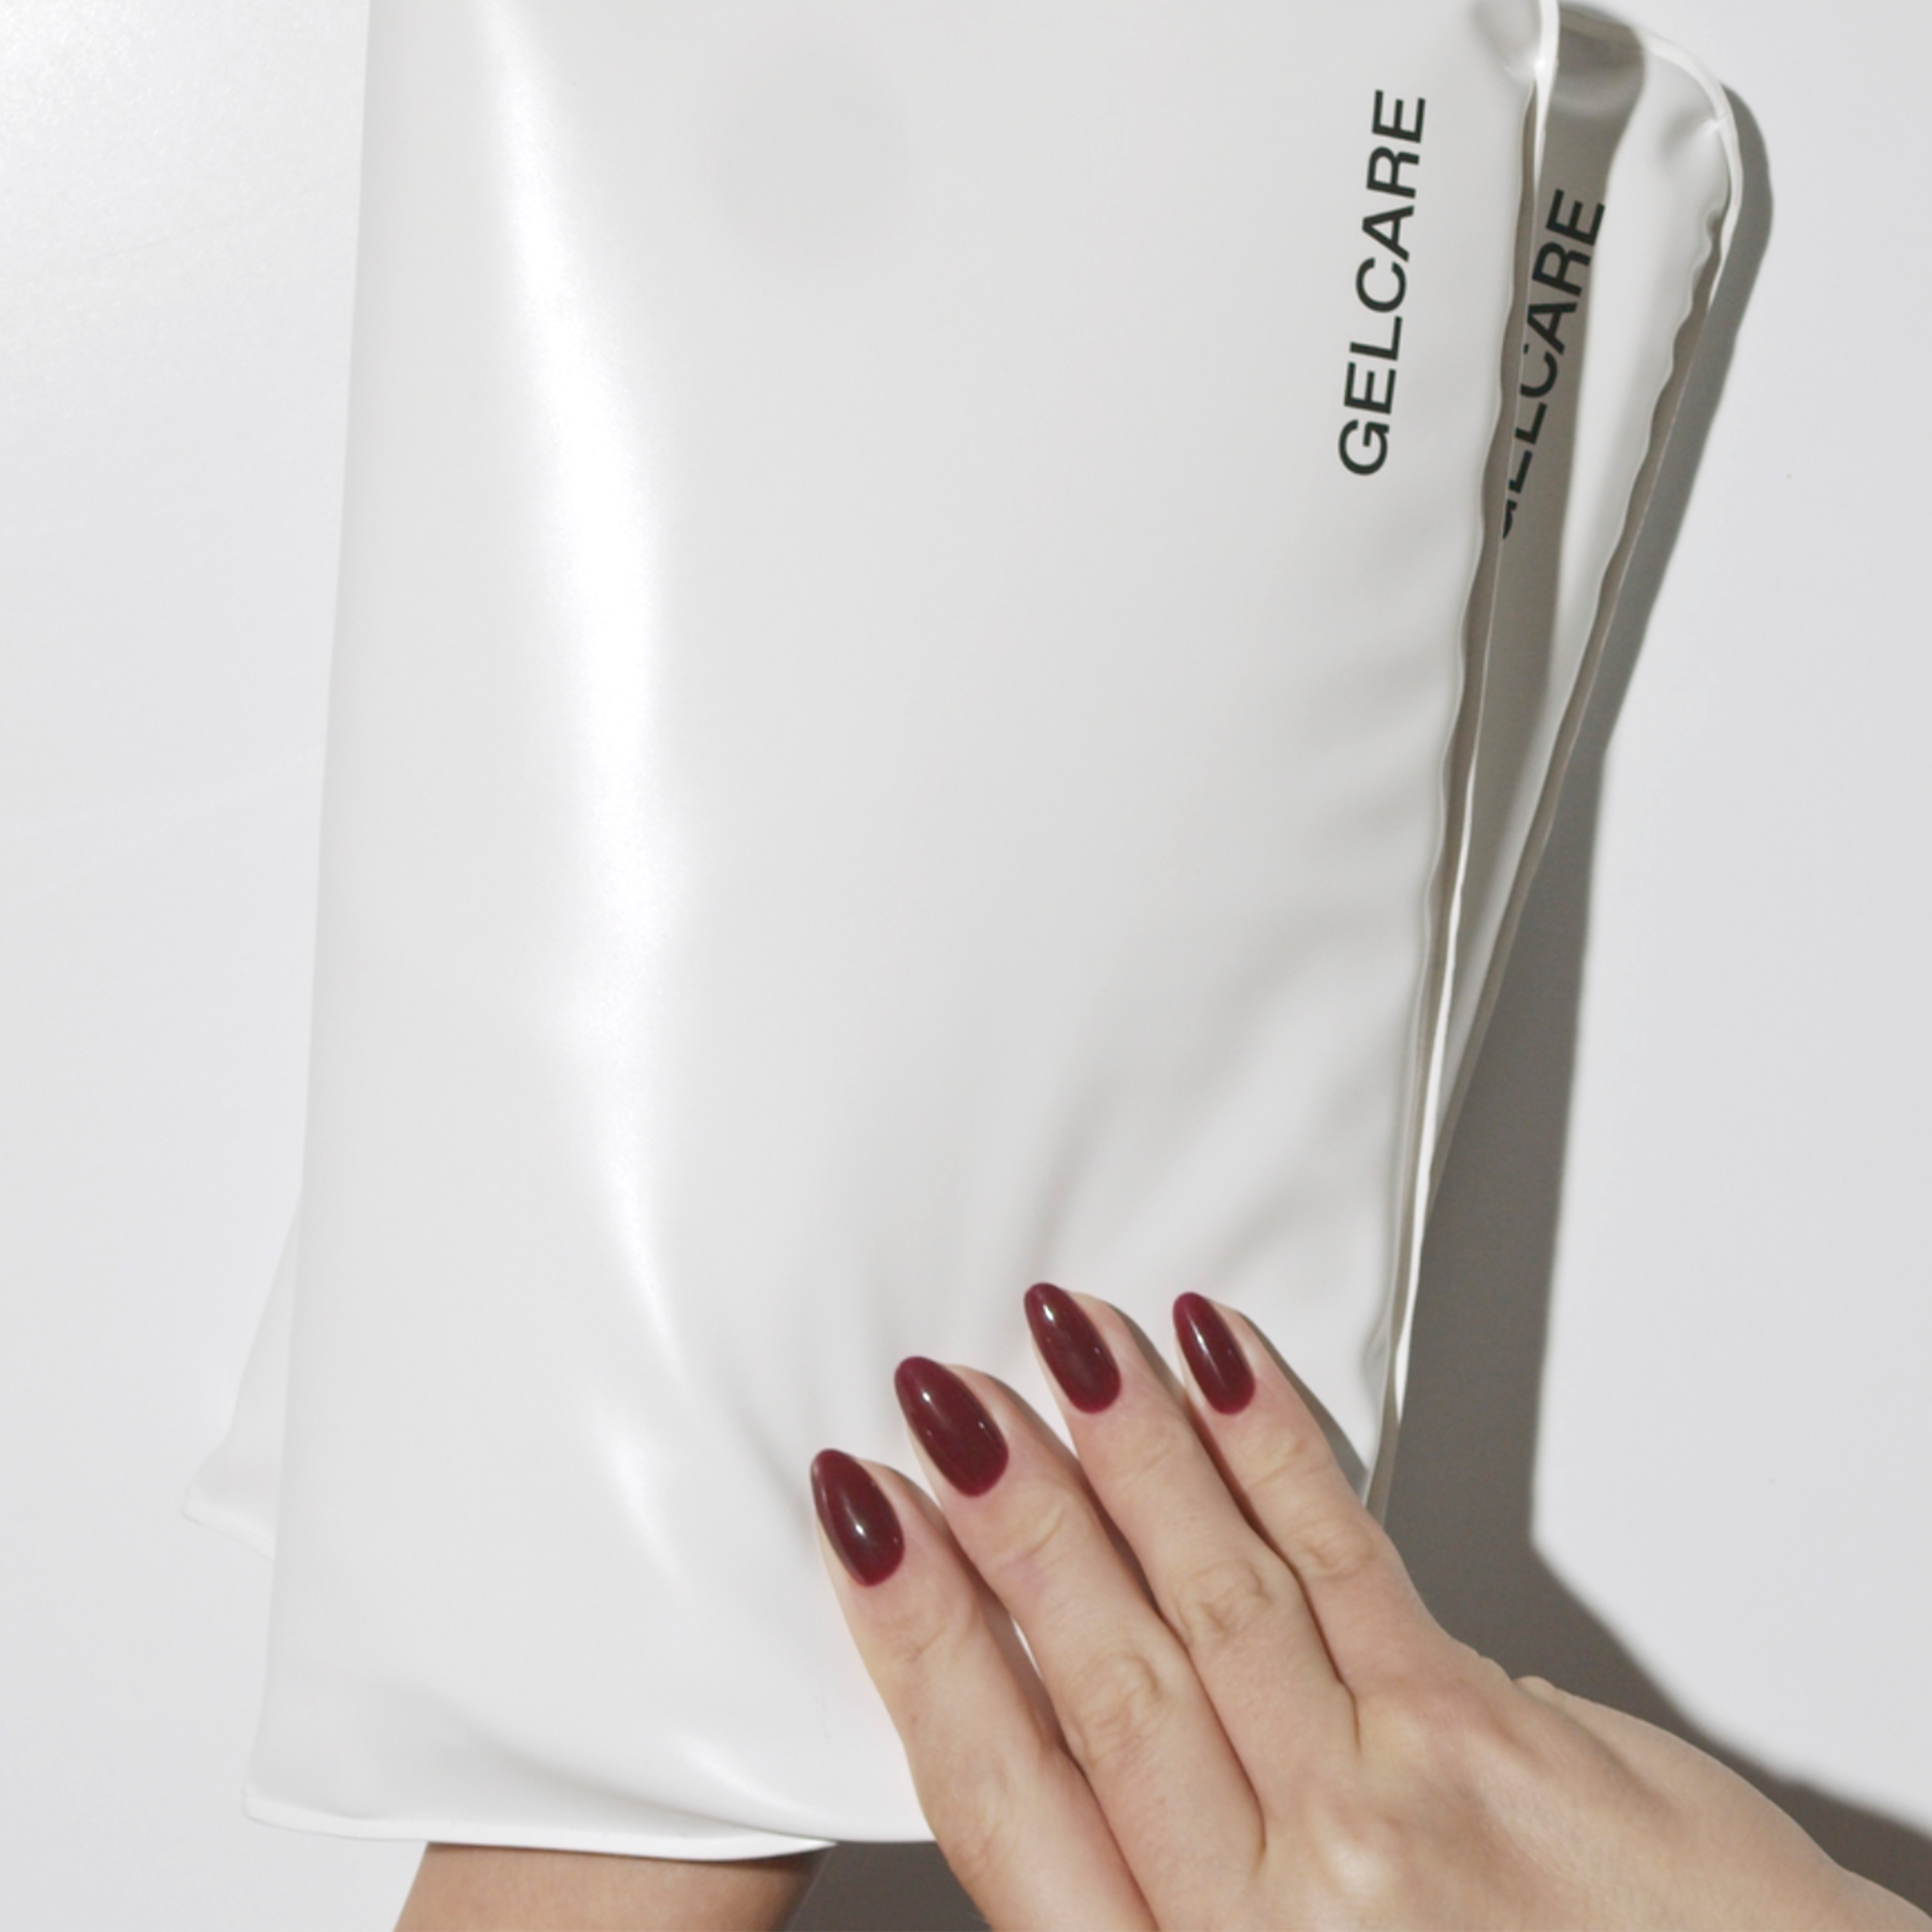
Slide your wrapped fingers into the heating mitts for 10 to 15 minutes. The Heating Mittens help facilitate lifting and accelerate the gel removal process.
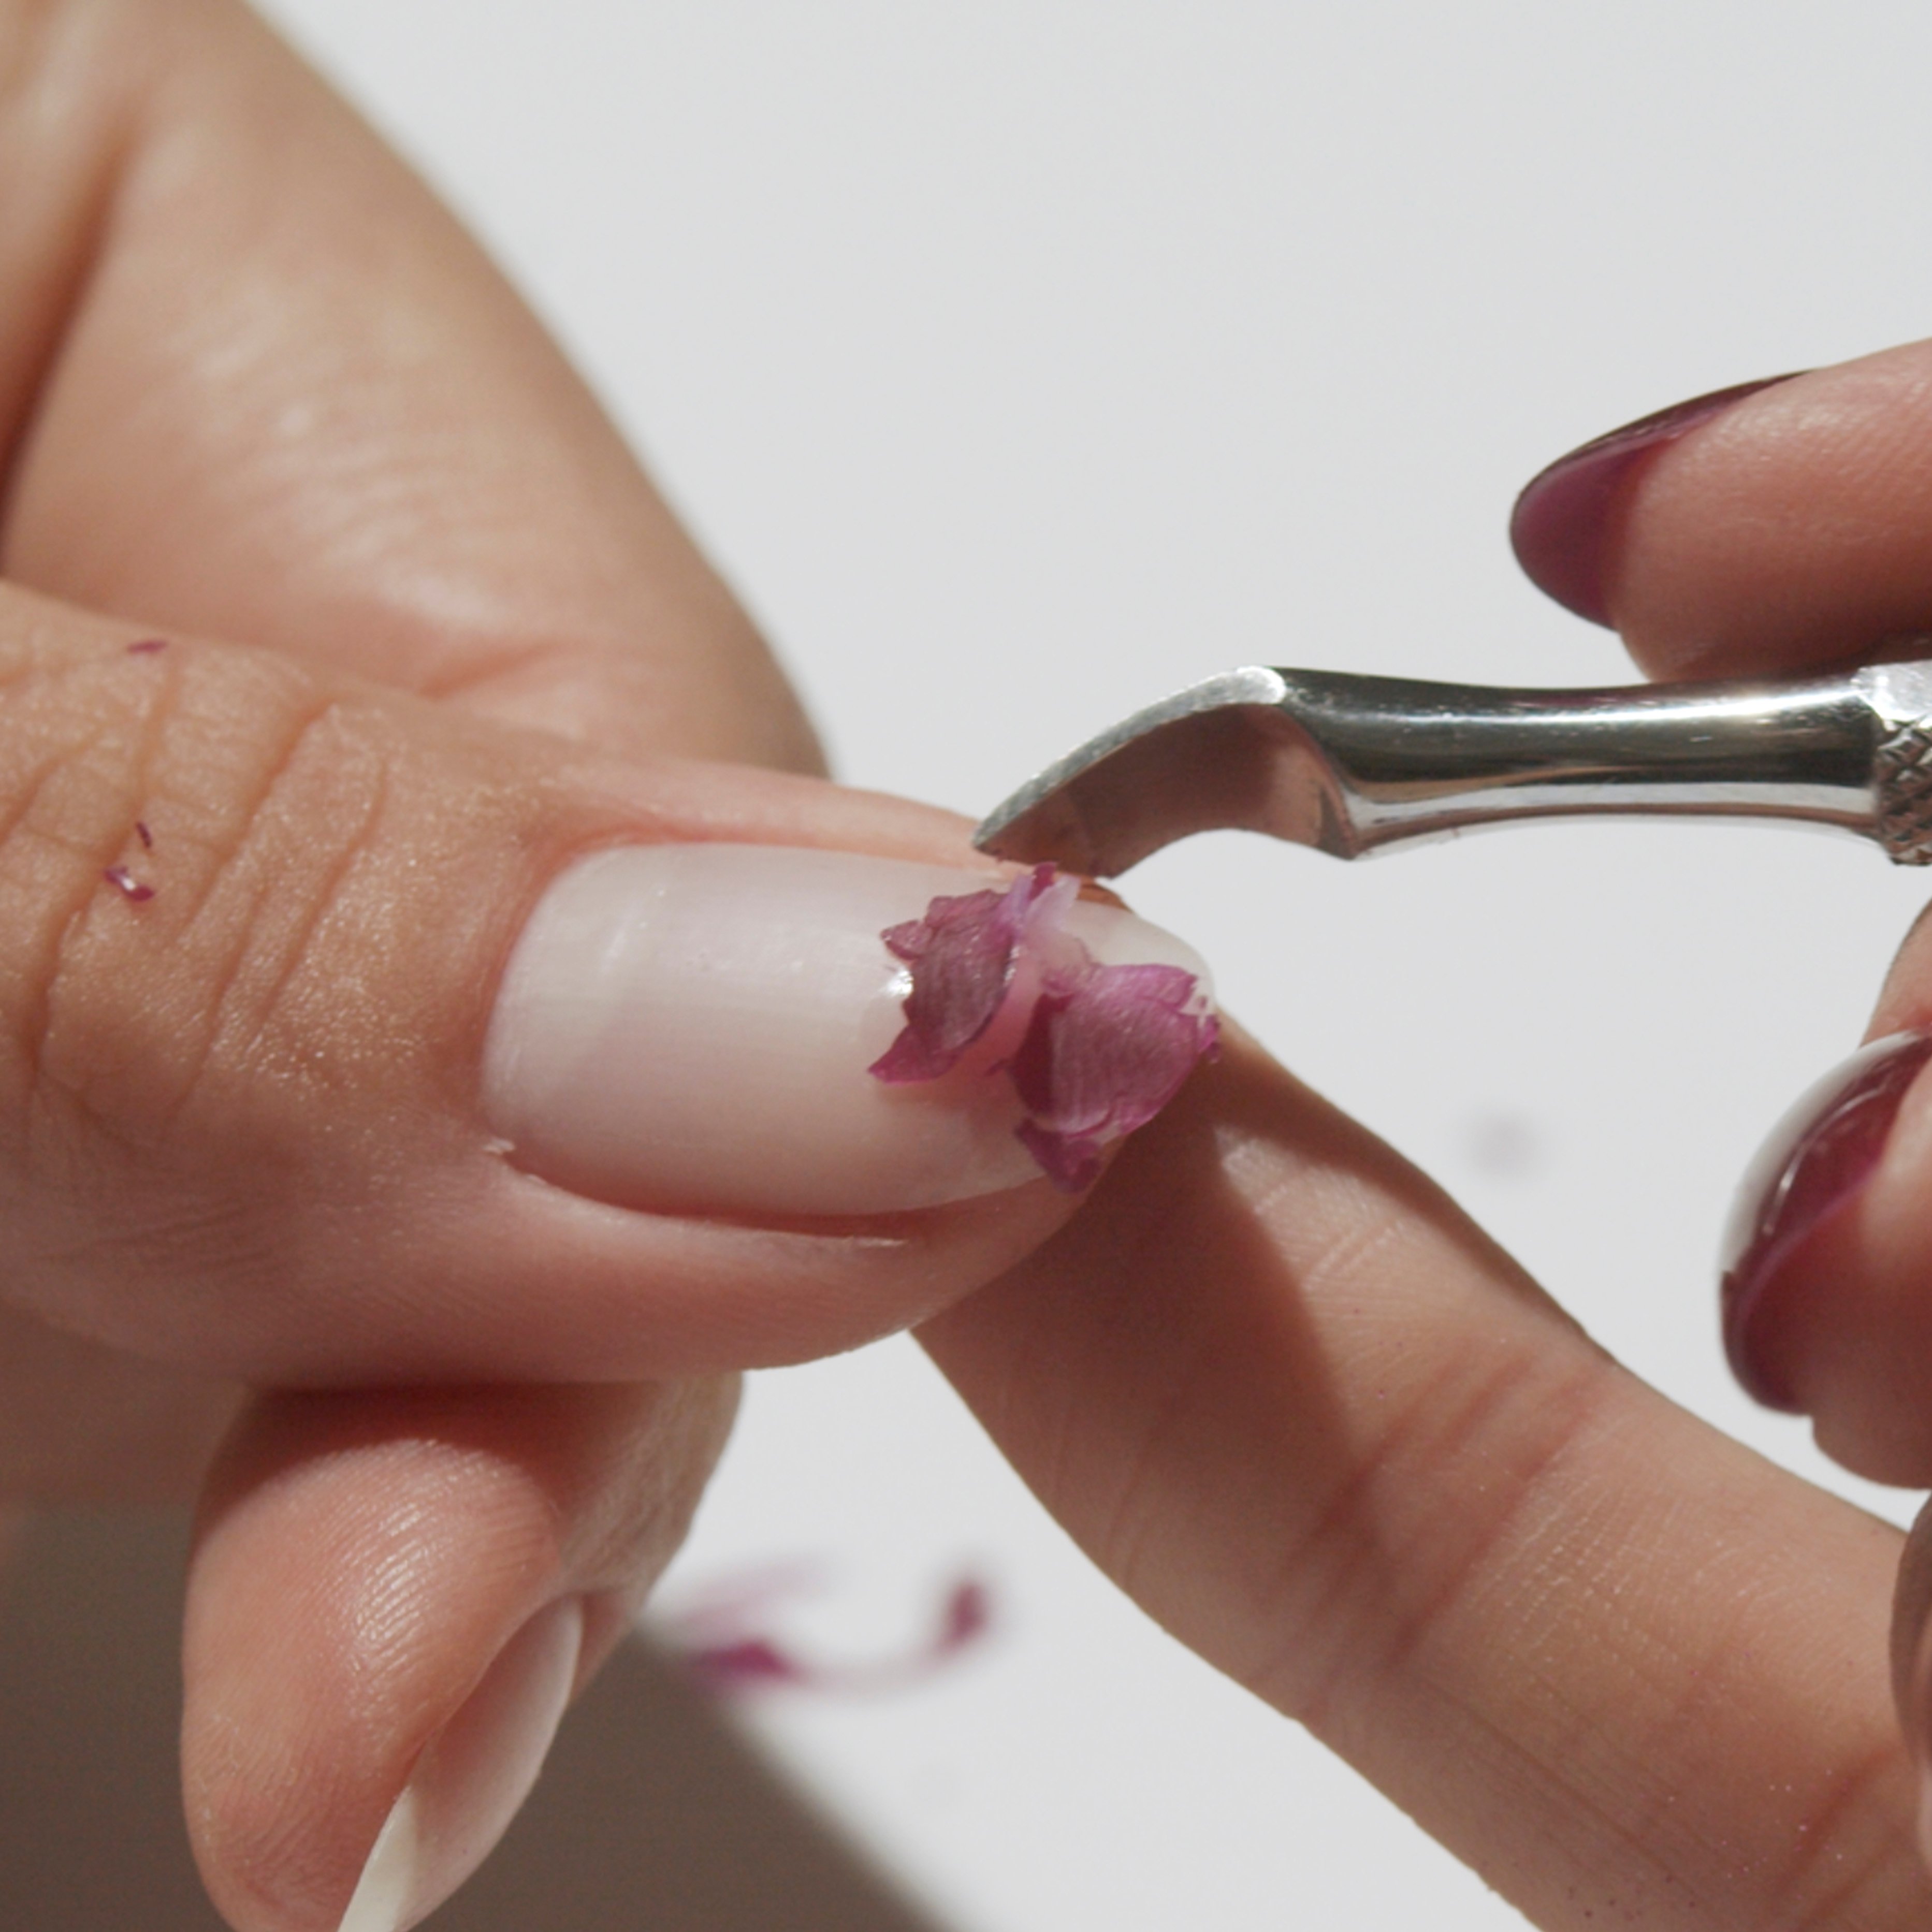
Remove the foil and Gel Removal Pads and scrape off the gel with the bladed end of the Gel Removal Tool. If necessary, change the direction of your tool; you can scrape from top to bottom, right to left, left to right, and bottom to top.
If the gel is not lifting, do not force or peel it. This may damage your nail plate. Simply file the gel surface again, rewrap the nail in the Gel Removal Pad and foil, and place hand in the Heating Mittens for a few extra minutes.
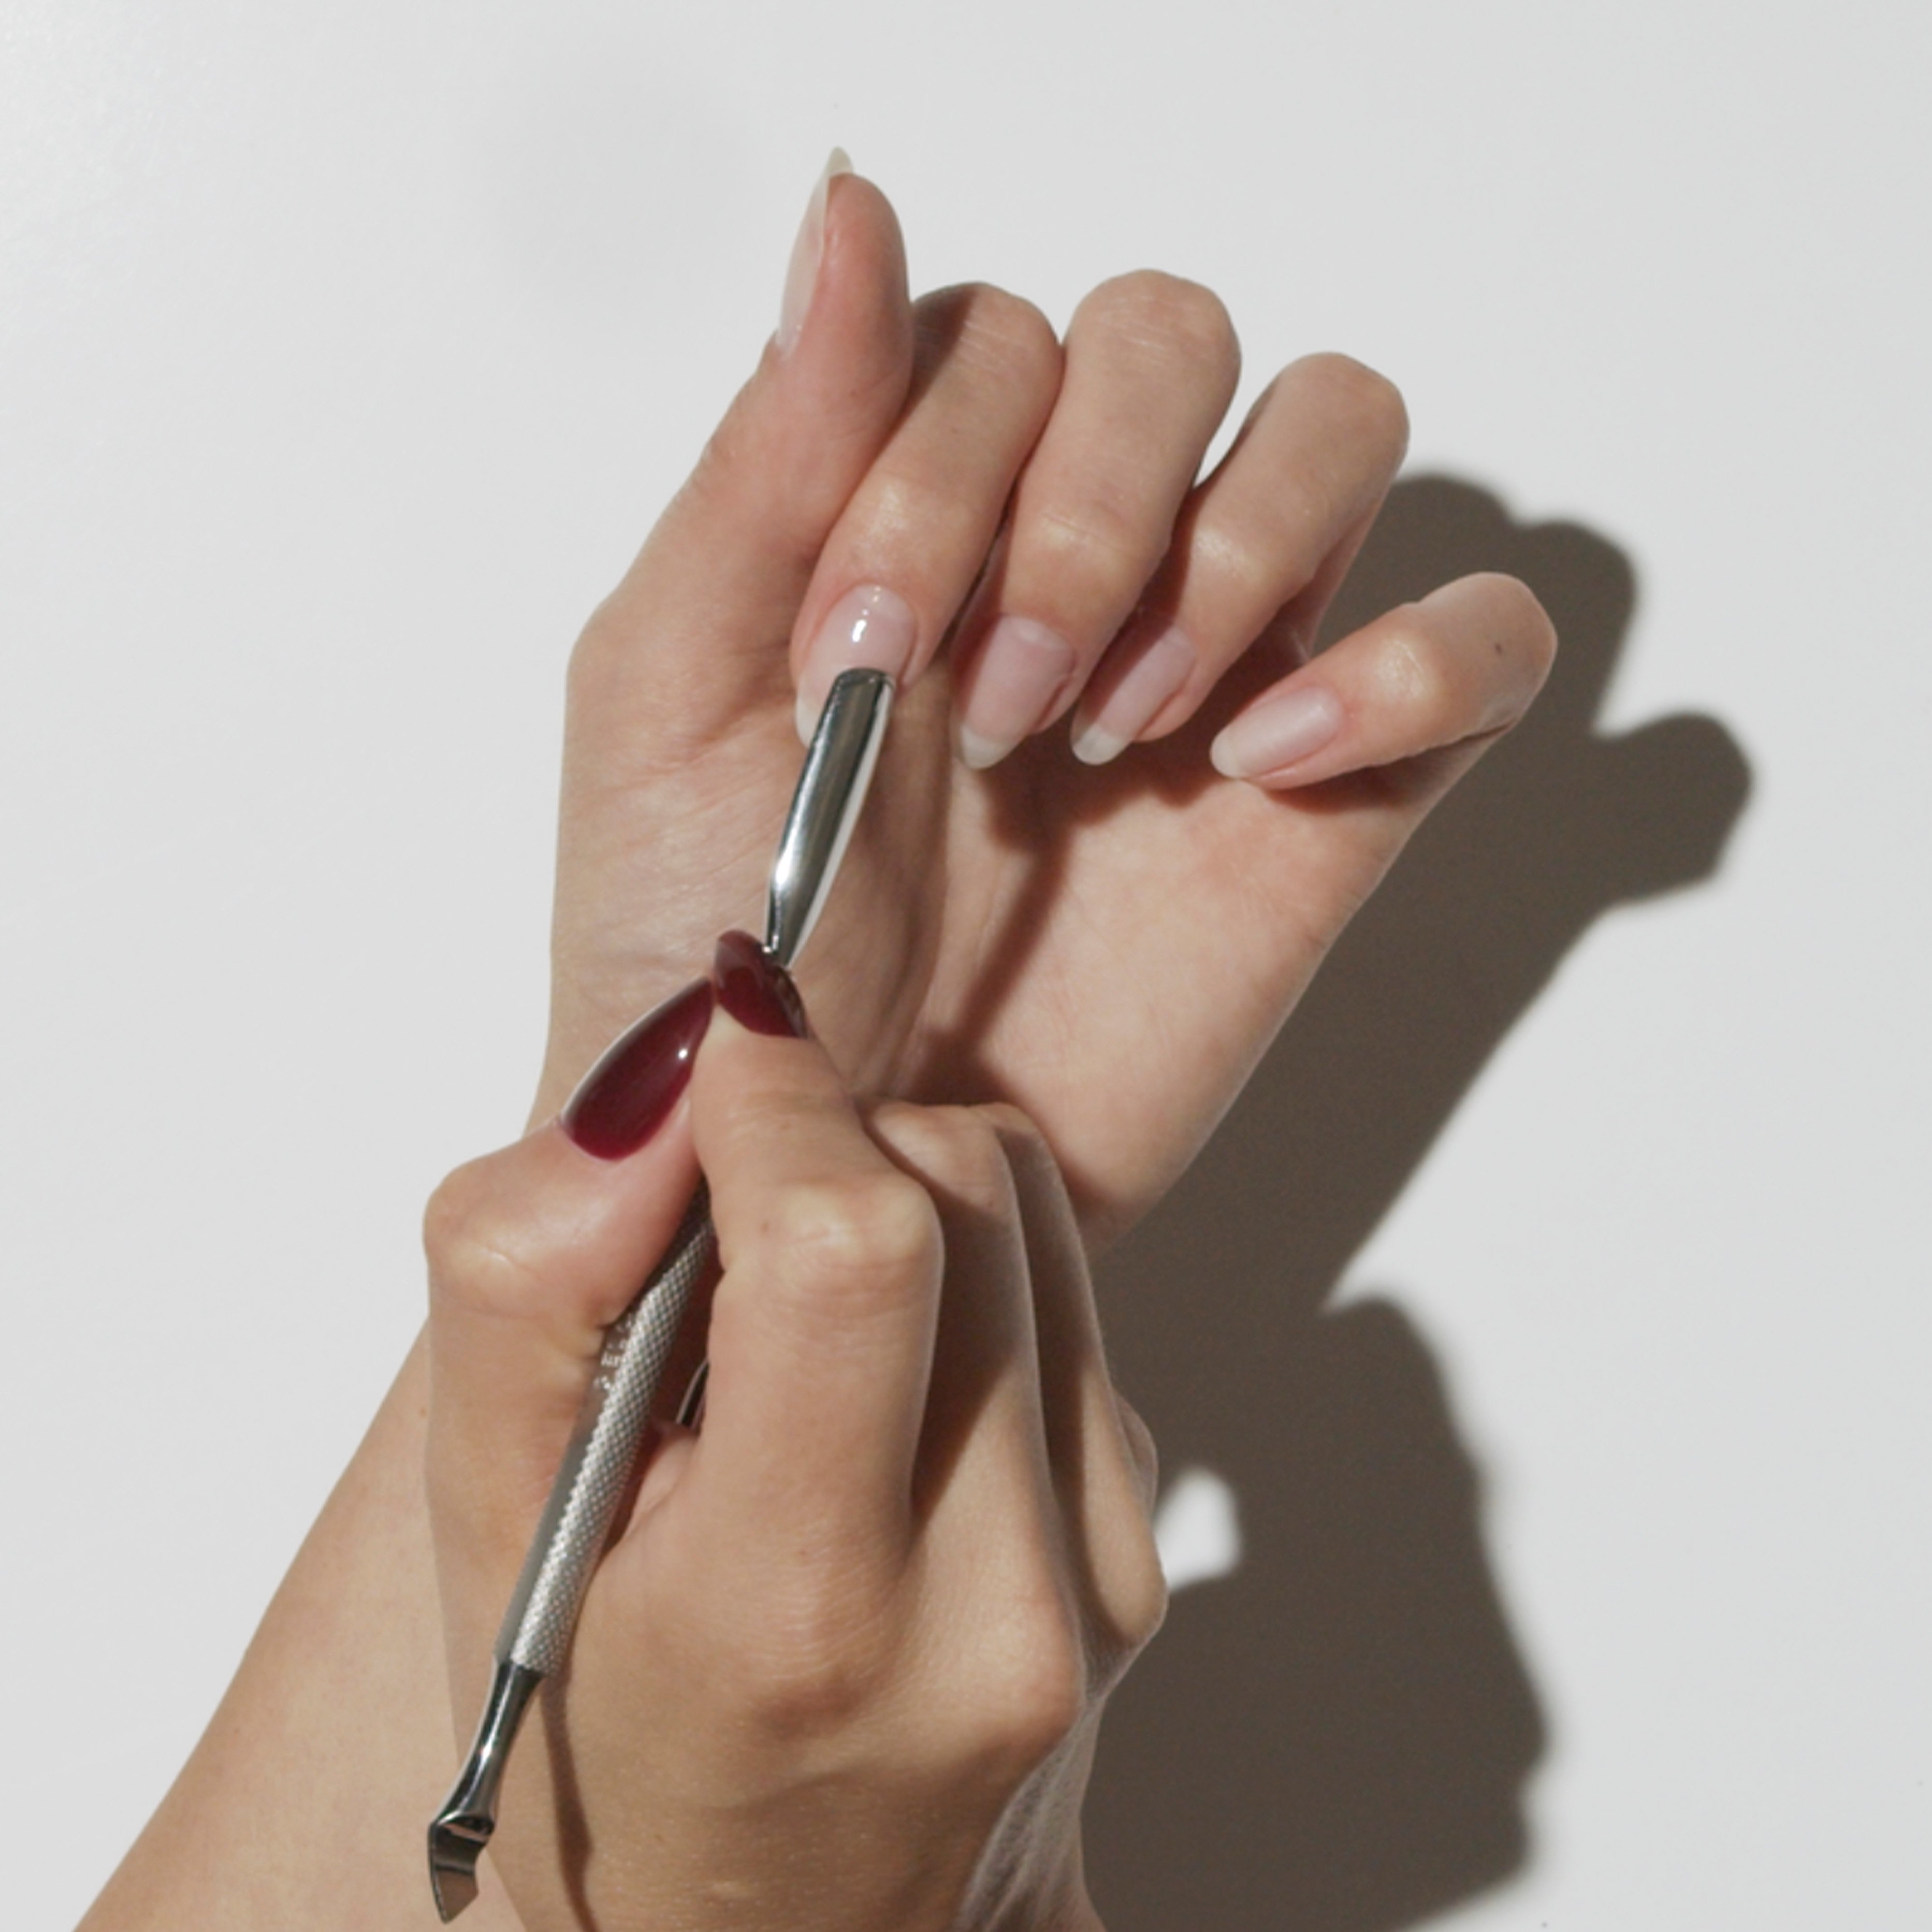
Apply Cuticle Softener to the cuticles. This enzymatic solution softens the skin around the nails to facilitate a gentler and deeper clean.
Push the cuticle back using the arched end of the Gel Removal Tool. Move the tool, back and forth along the natural arch of the nail to reach the edges of the cuticles. The tool should not be angled too flat or too upright. Ideally, use it at a 45° angle to allow for both comfort and grip.
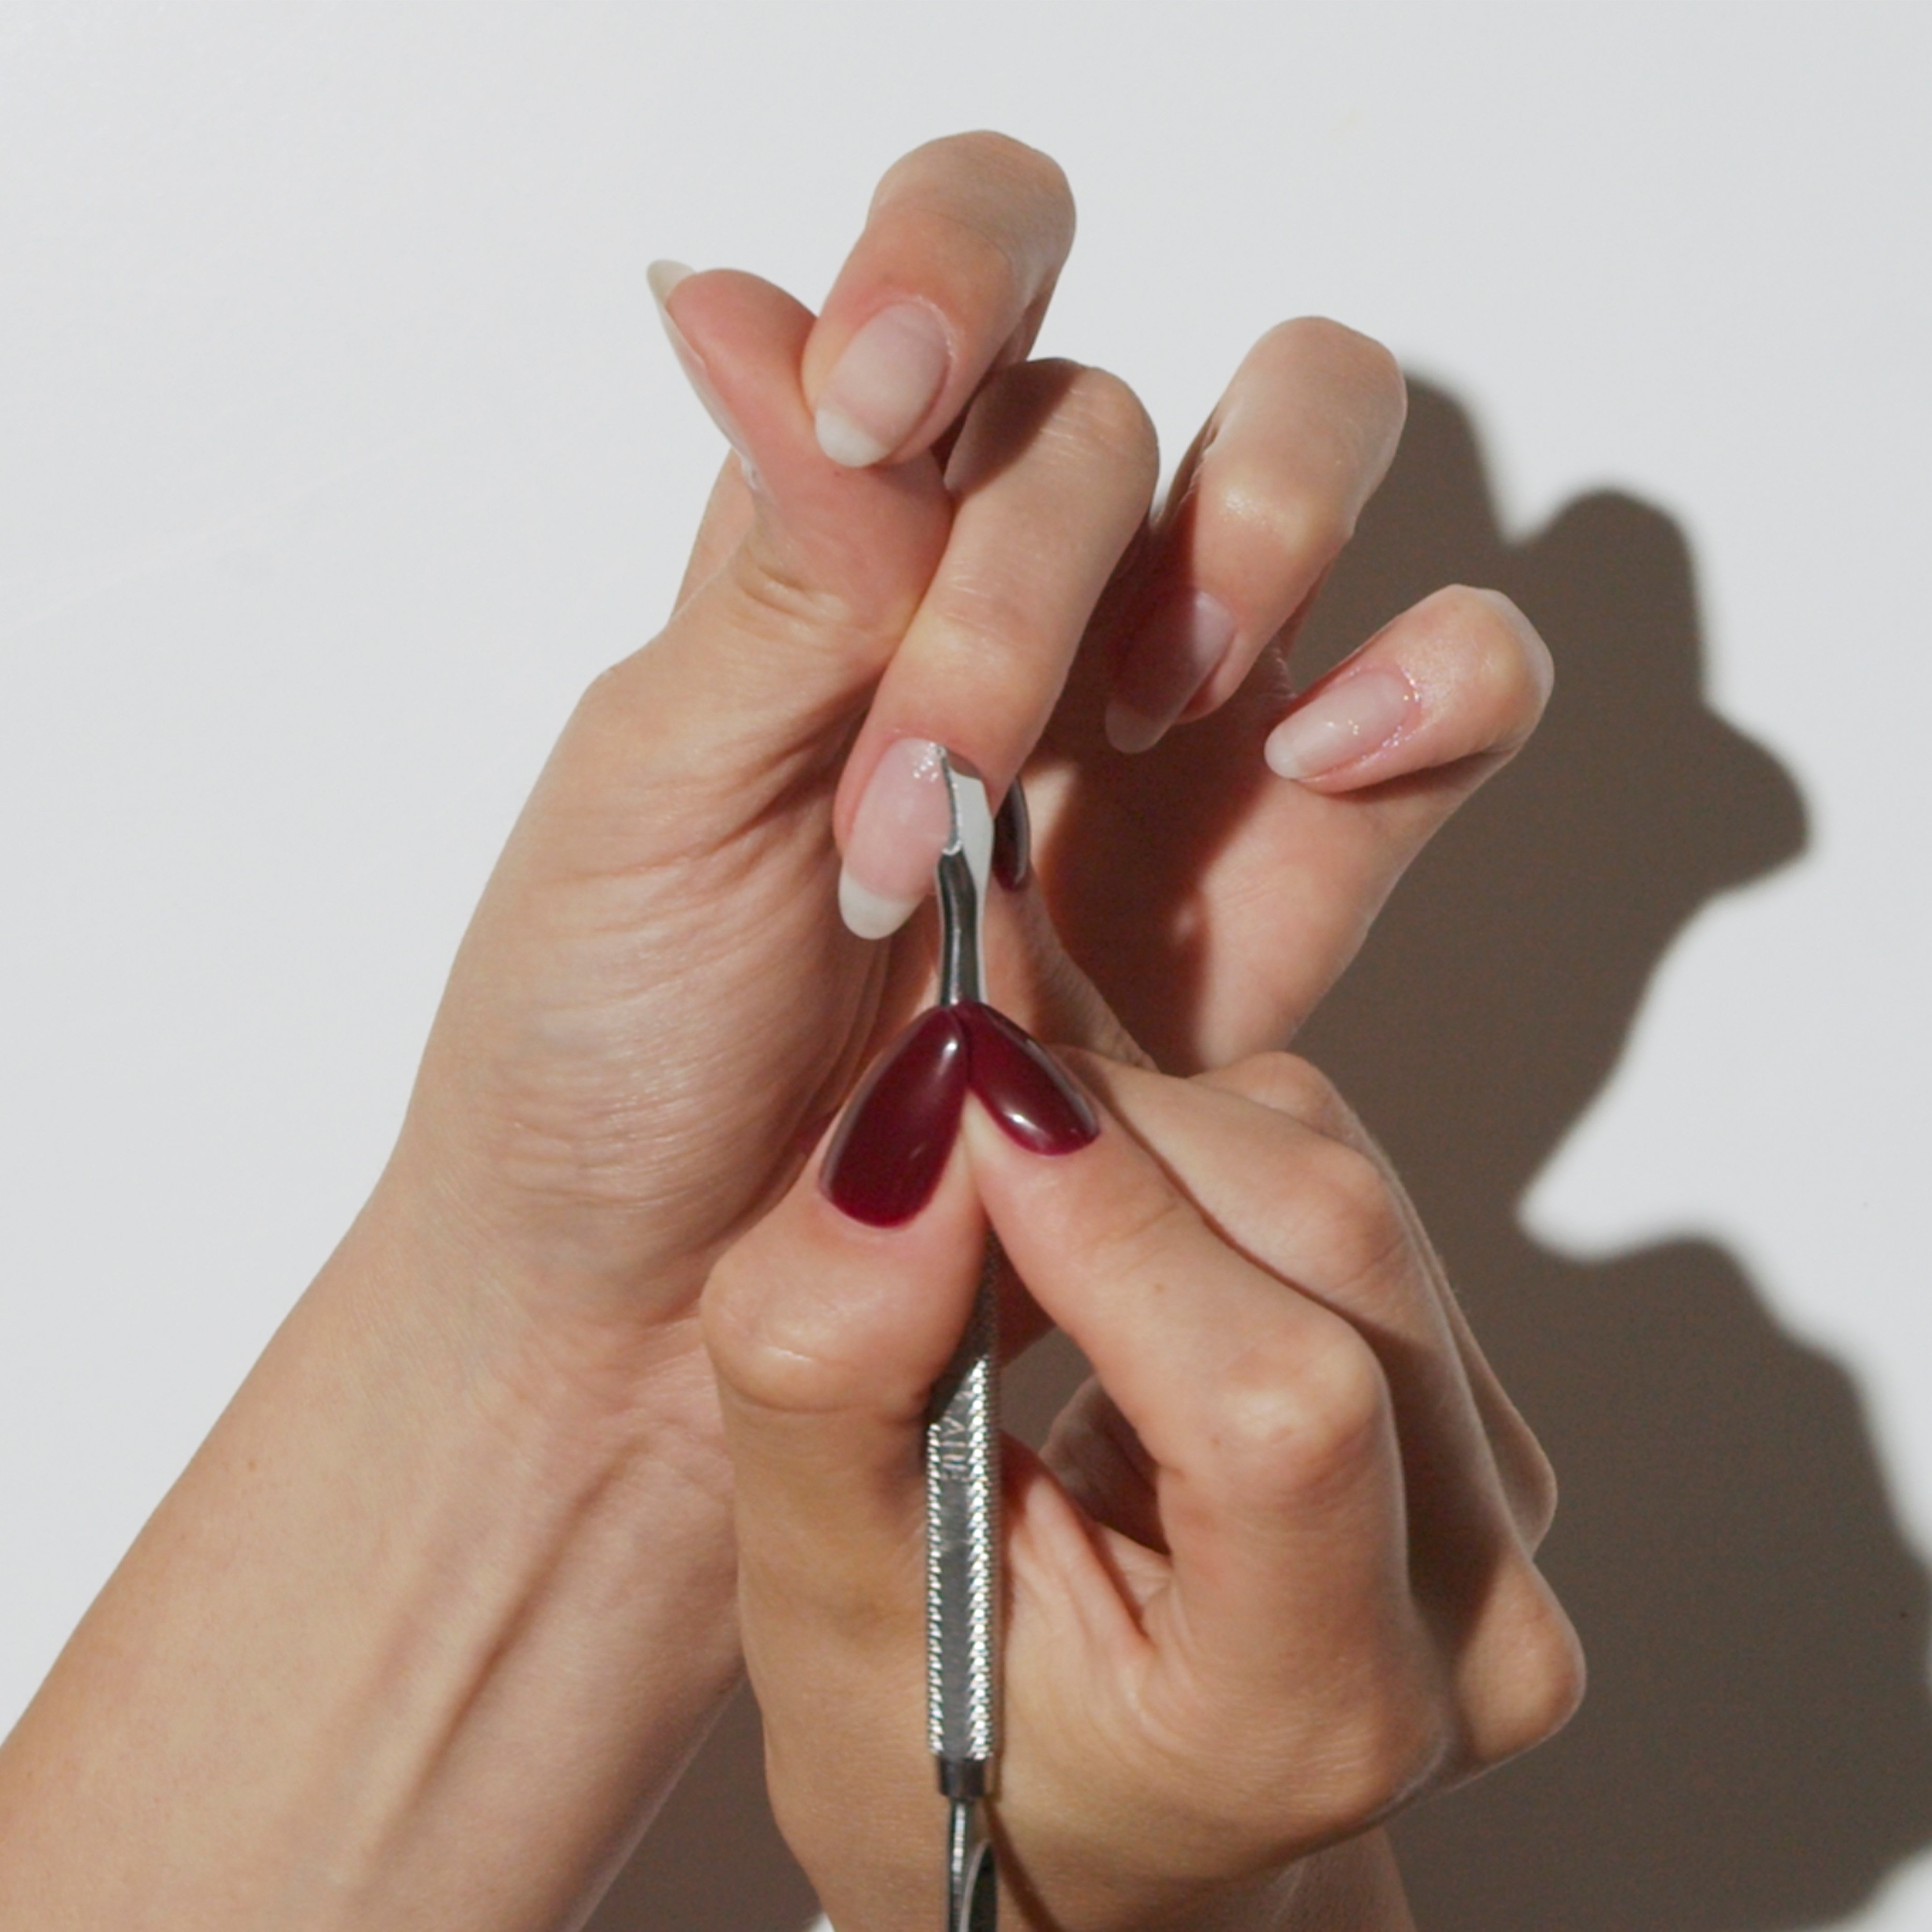
This step is unique to the Gelcare technique. With the bladed end of your Gel Removal Tool, use small circular motions to dislodge any dry skin stuck under the cuticles. If needed, add more Cuticle Softener to the nails to help loosen the skin further when executing this step. The softener will also help the sharp edge move smoothly on the nail plate.
This extra cleansing step results in better nail preparation, neater gel application and more seamless regrowth.
Once you are done with this step, wipe your nails clean using a Gel Removal Pad soaked with rubbing alcohol/Nail Cleanser.
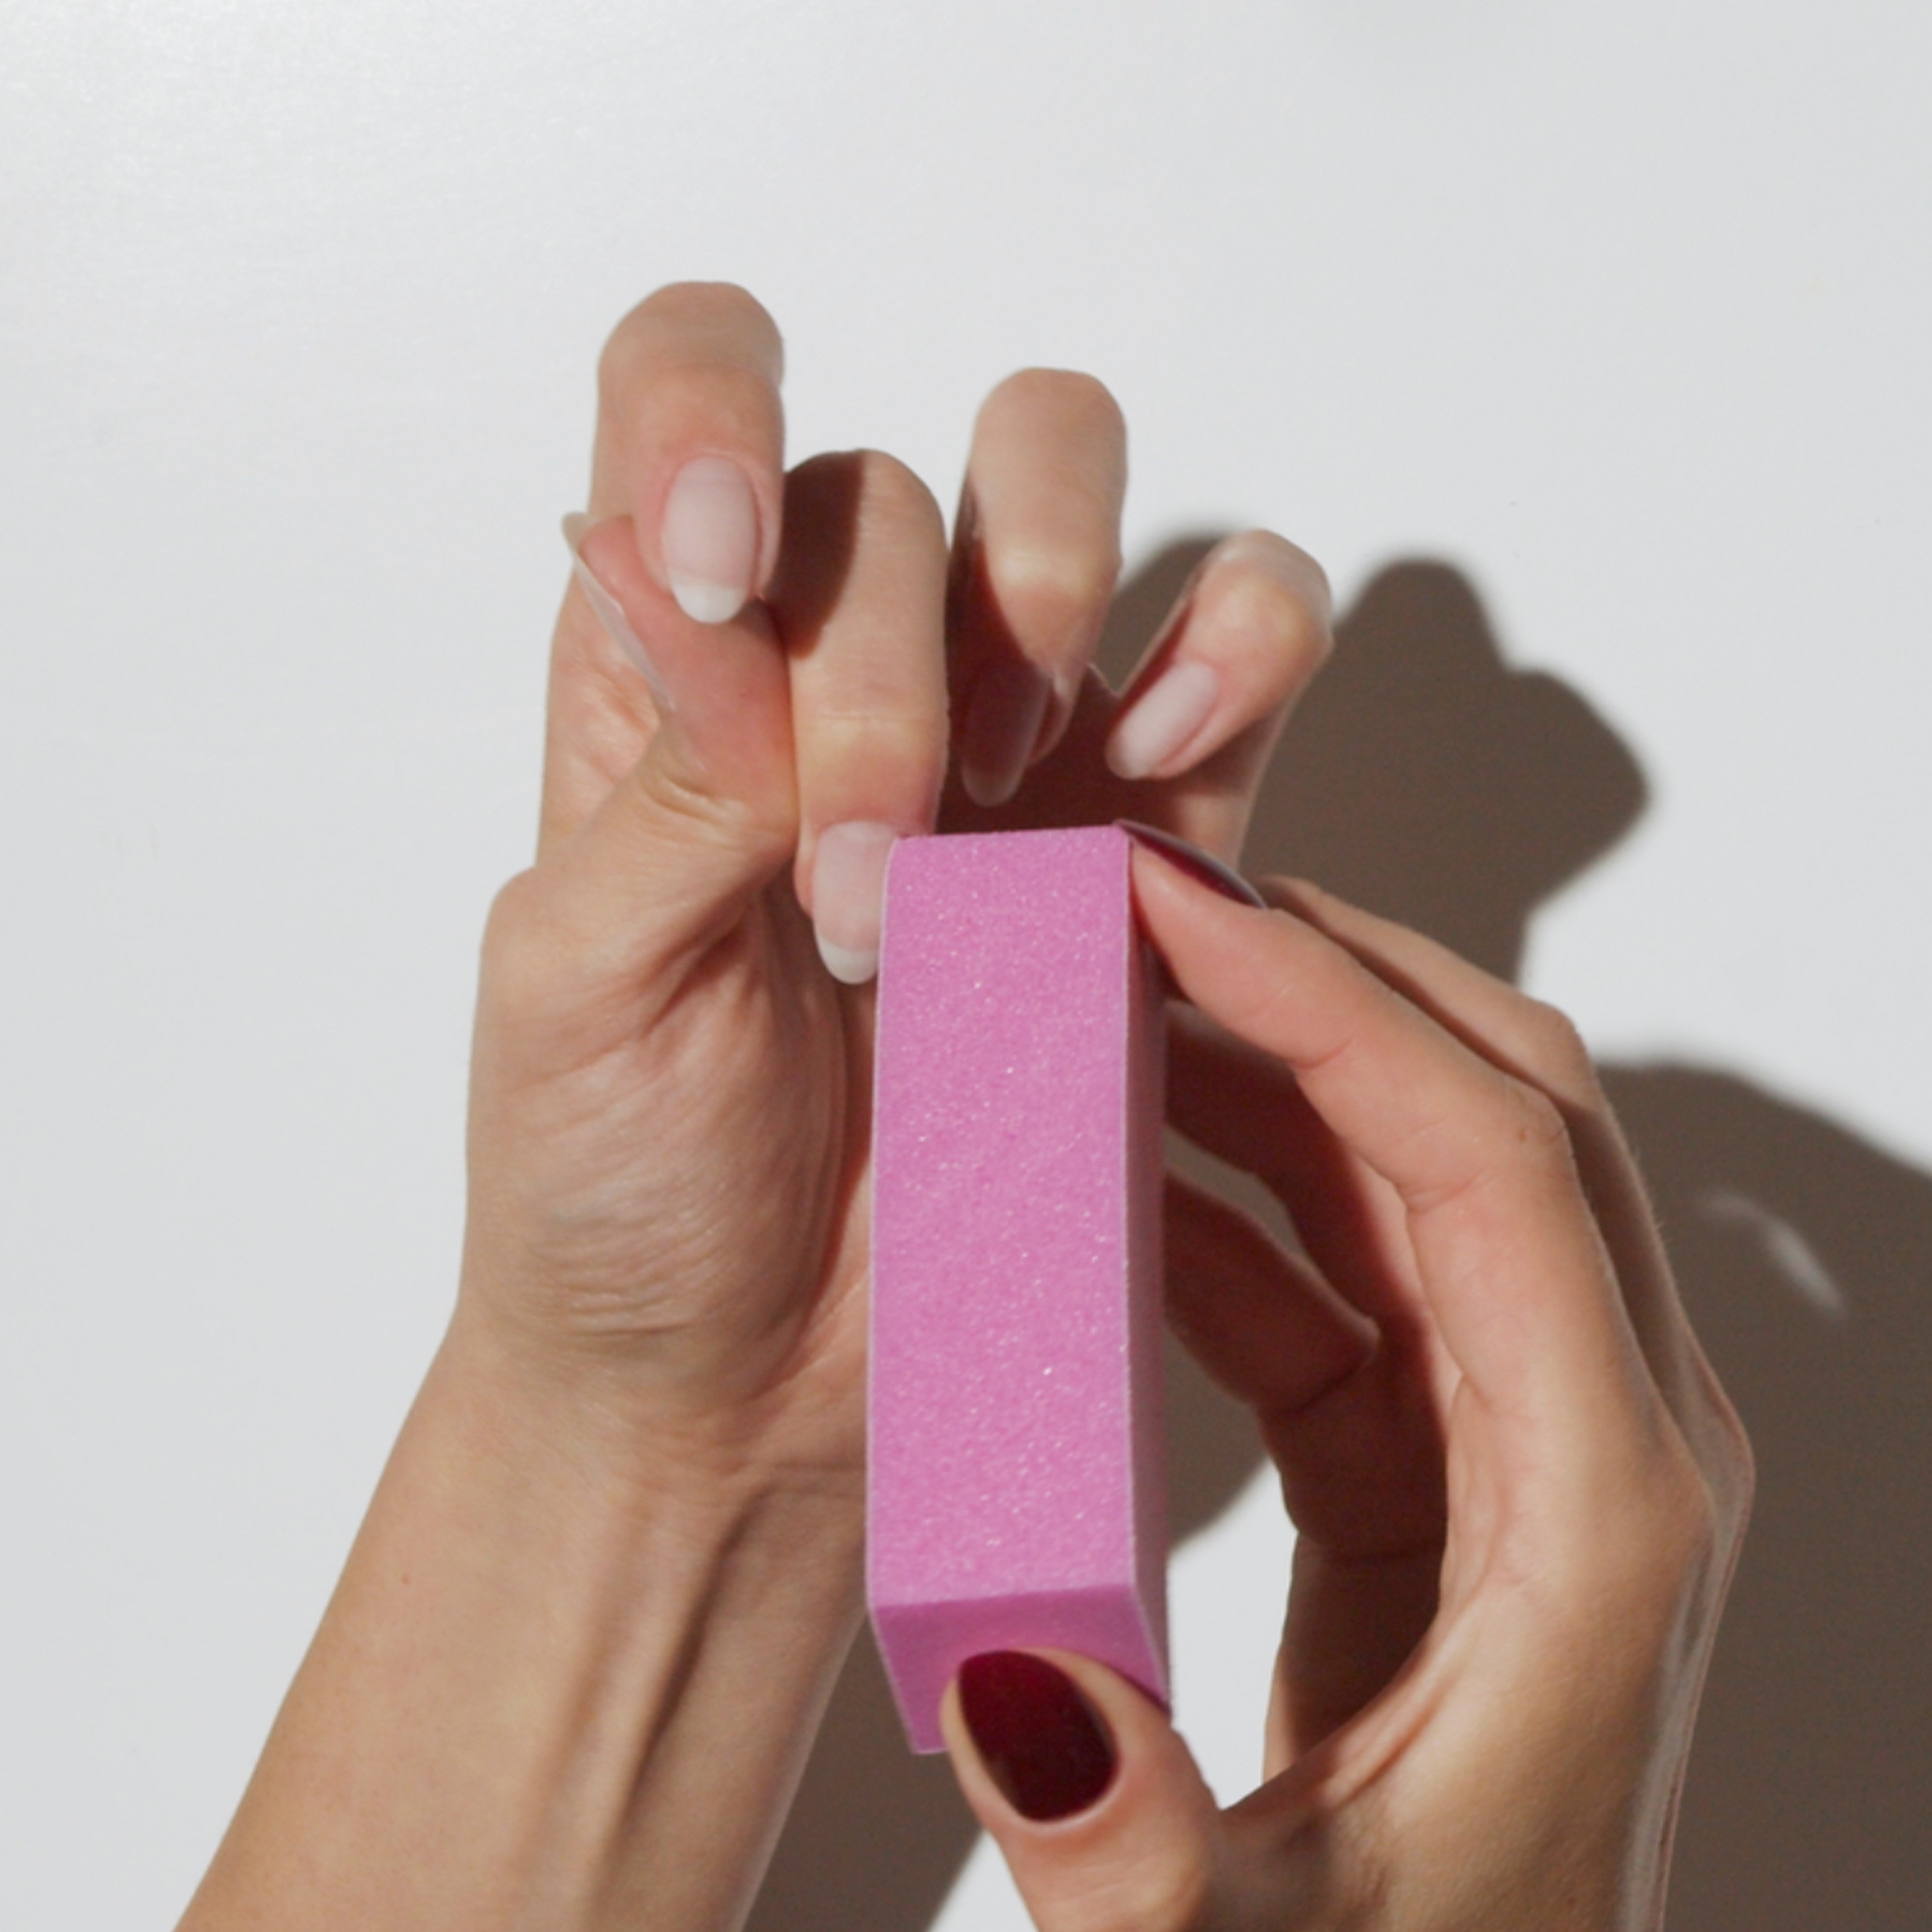
Buffing not only smoothes the nail surface, it allows for better Base Coat adhesion by creating a subtle texture on the surface of the nails.
Using the Buffing Block, gently buff the nails. Pay special attention to not thin-out the nail plate by over-buffing. Use the corners of the Buffing Block to buff the sides of the nail arch, as well as near the cuticles.

Using the more abrasive side (100) of the Curved Nail File, we want to file the excess skin on the sides of the nails first, which often causes the gel to lift. To do this, sit file in the crease of the lateral fold and file gently. Apply pressure towards the side of the nail 7and not downwards, which can cause paper cuts.
To file the nail shape, use the softer side of the Curved Nail File (180). Always file your nail tips with the softer side, so you to not damage the keratin layers of your nails.
Once you are satisfied with your shape, finish by gently brushing the tips of your nails using short downward strokes with the softer side of the Curved Nail File (180). This step smoothens the edges and is key for a clean Base Coat application and strong gel retention.
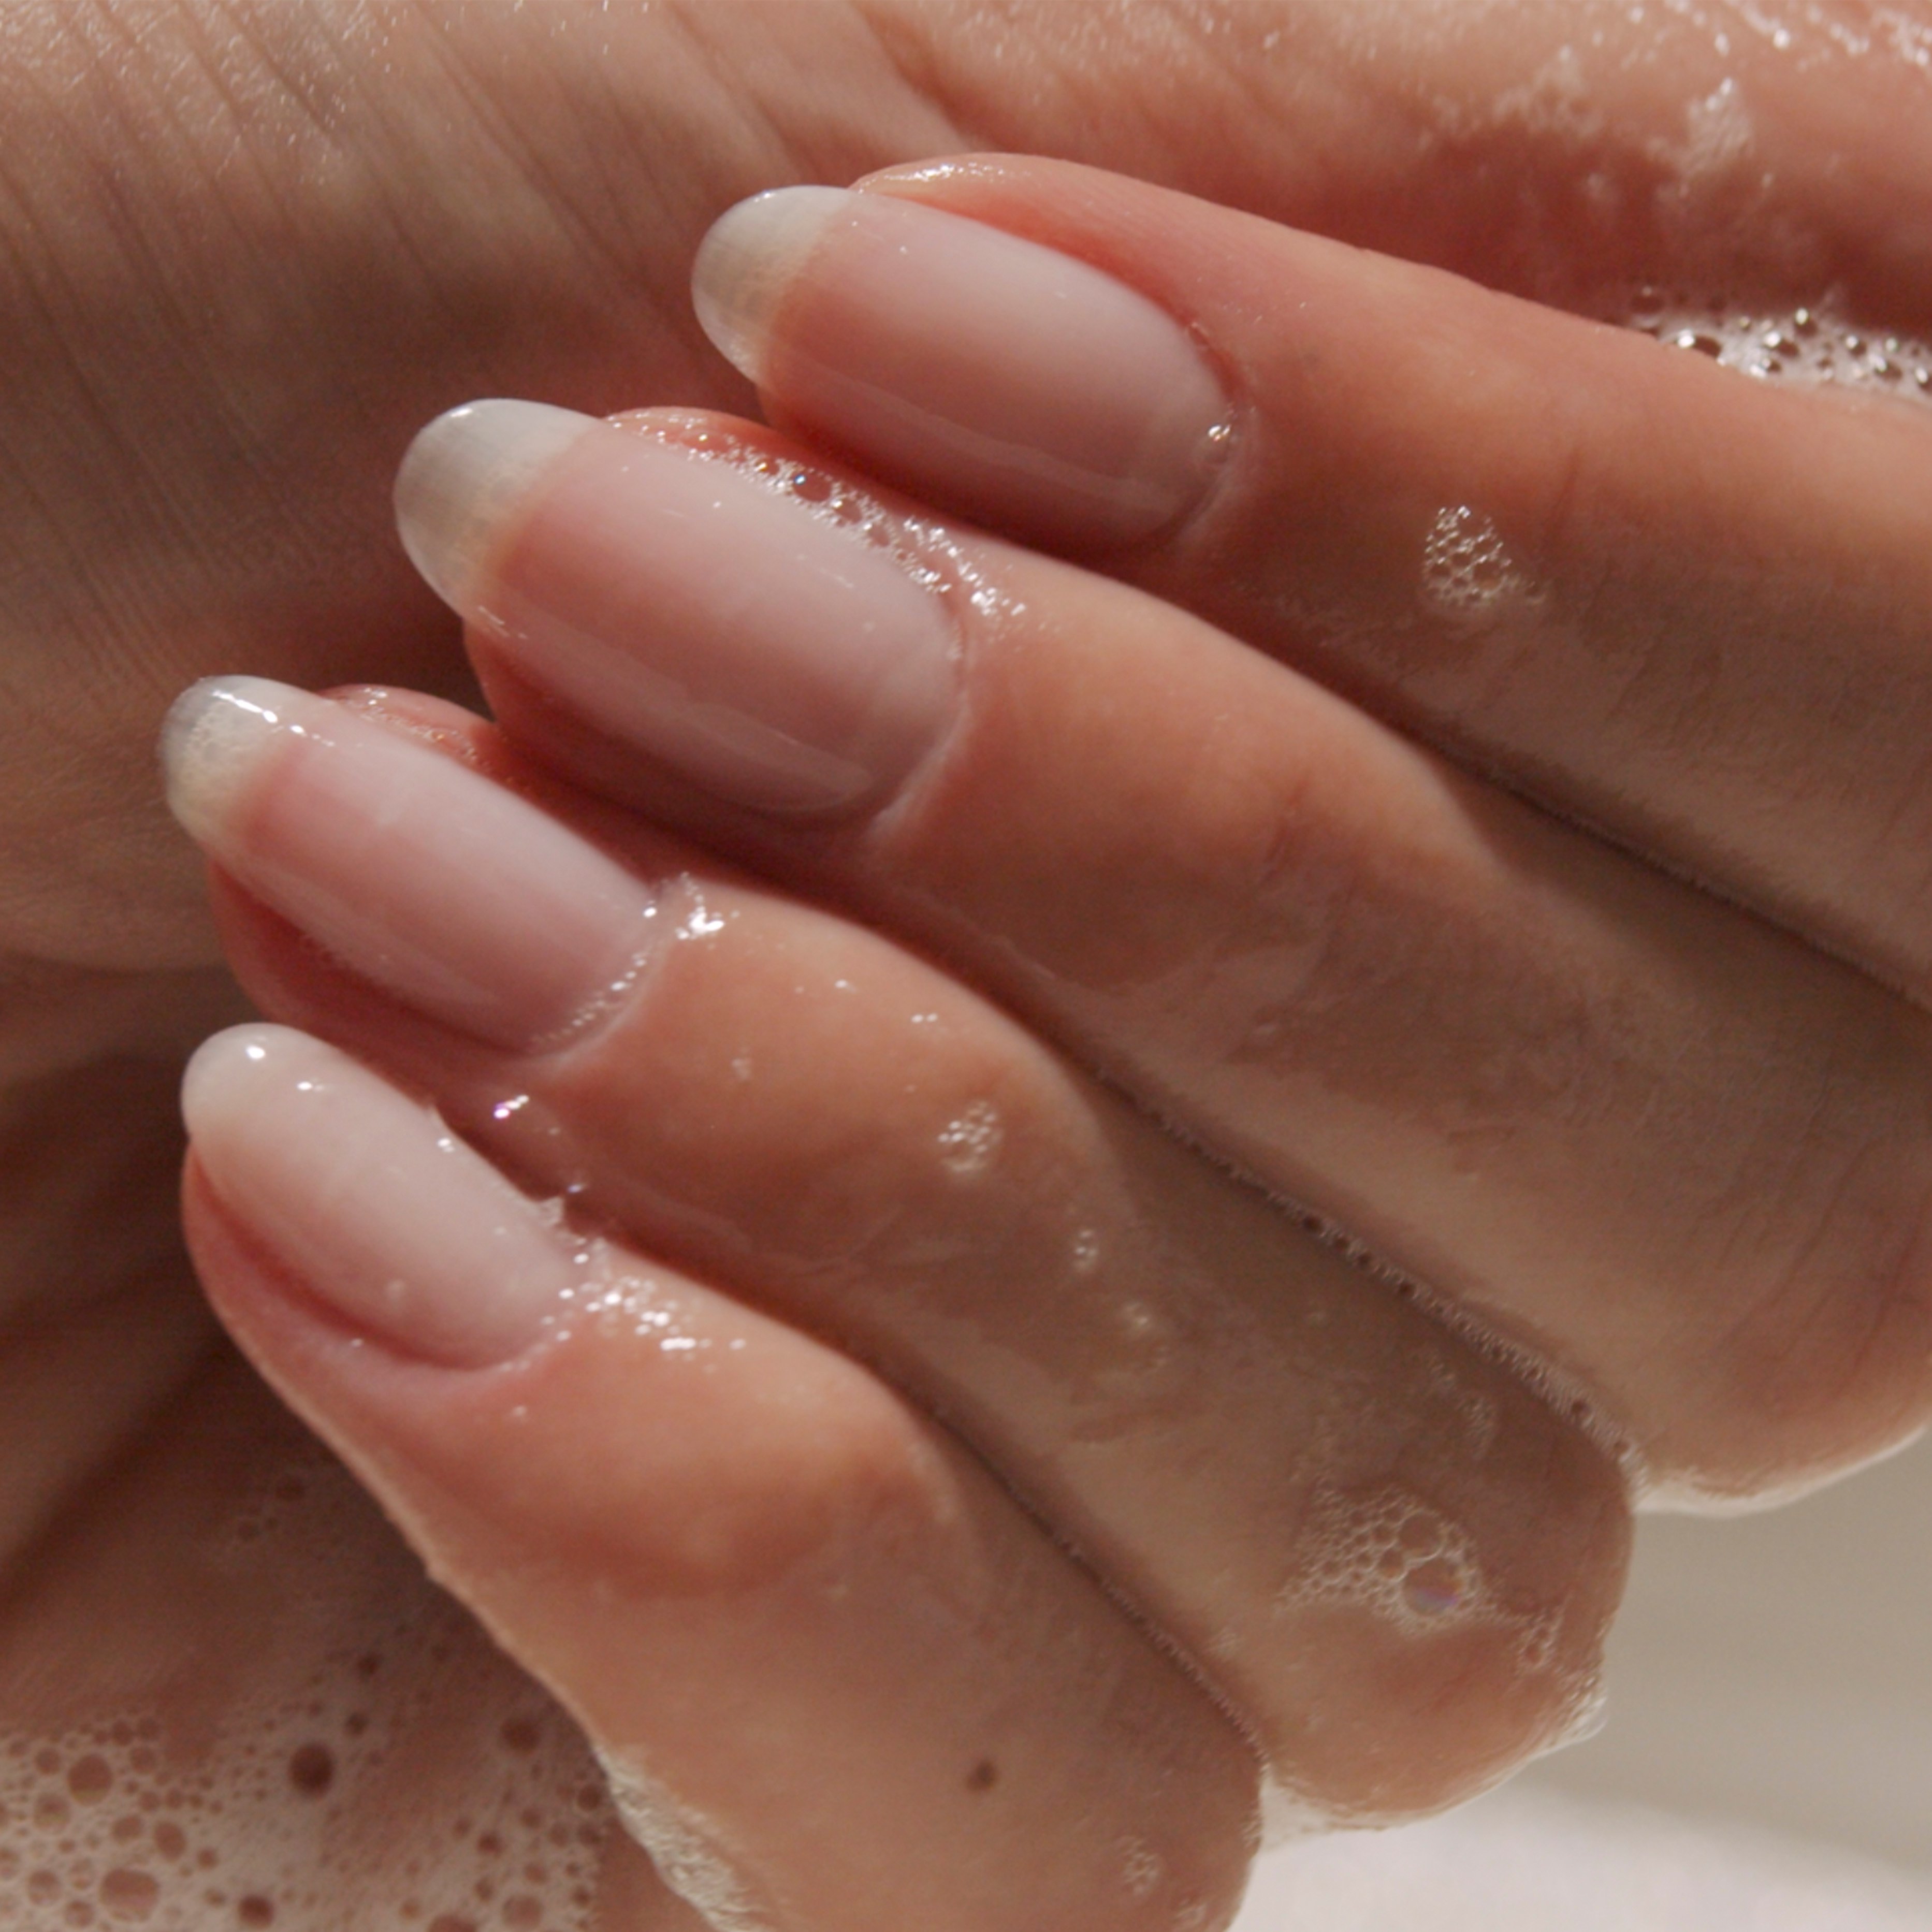
Wash your hands with soap and water. Using the Nail Scrubber Brush, scrub over and under your nails. Washing your hands also prepares the skin for the next step: cuticle trimming. When the skin is damp, the cuticles soften and become translucent, making them easier to trim.
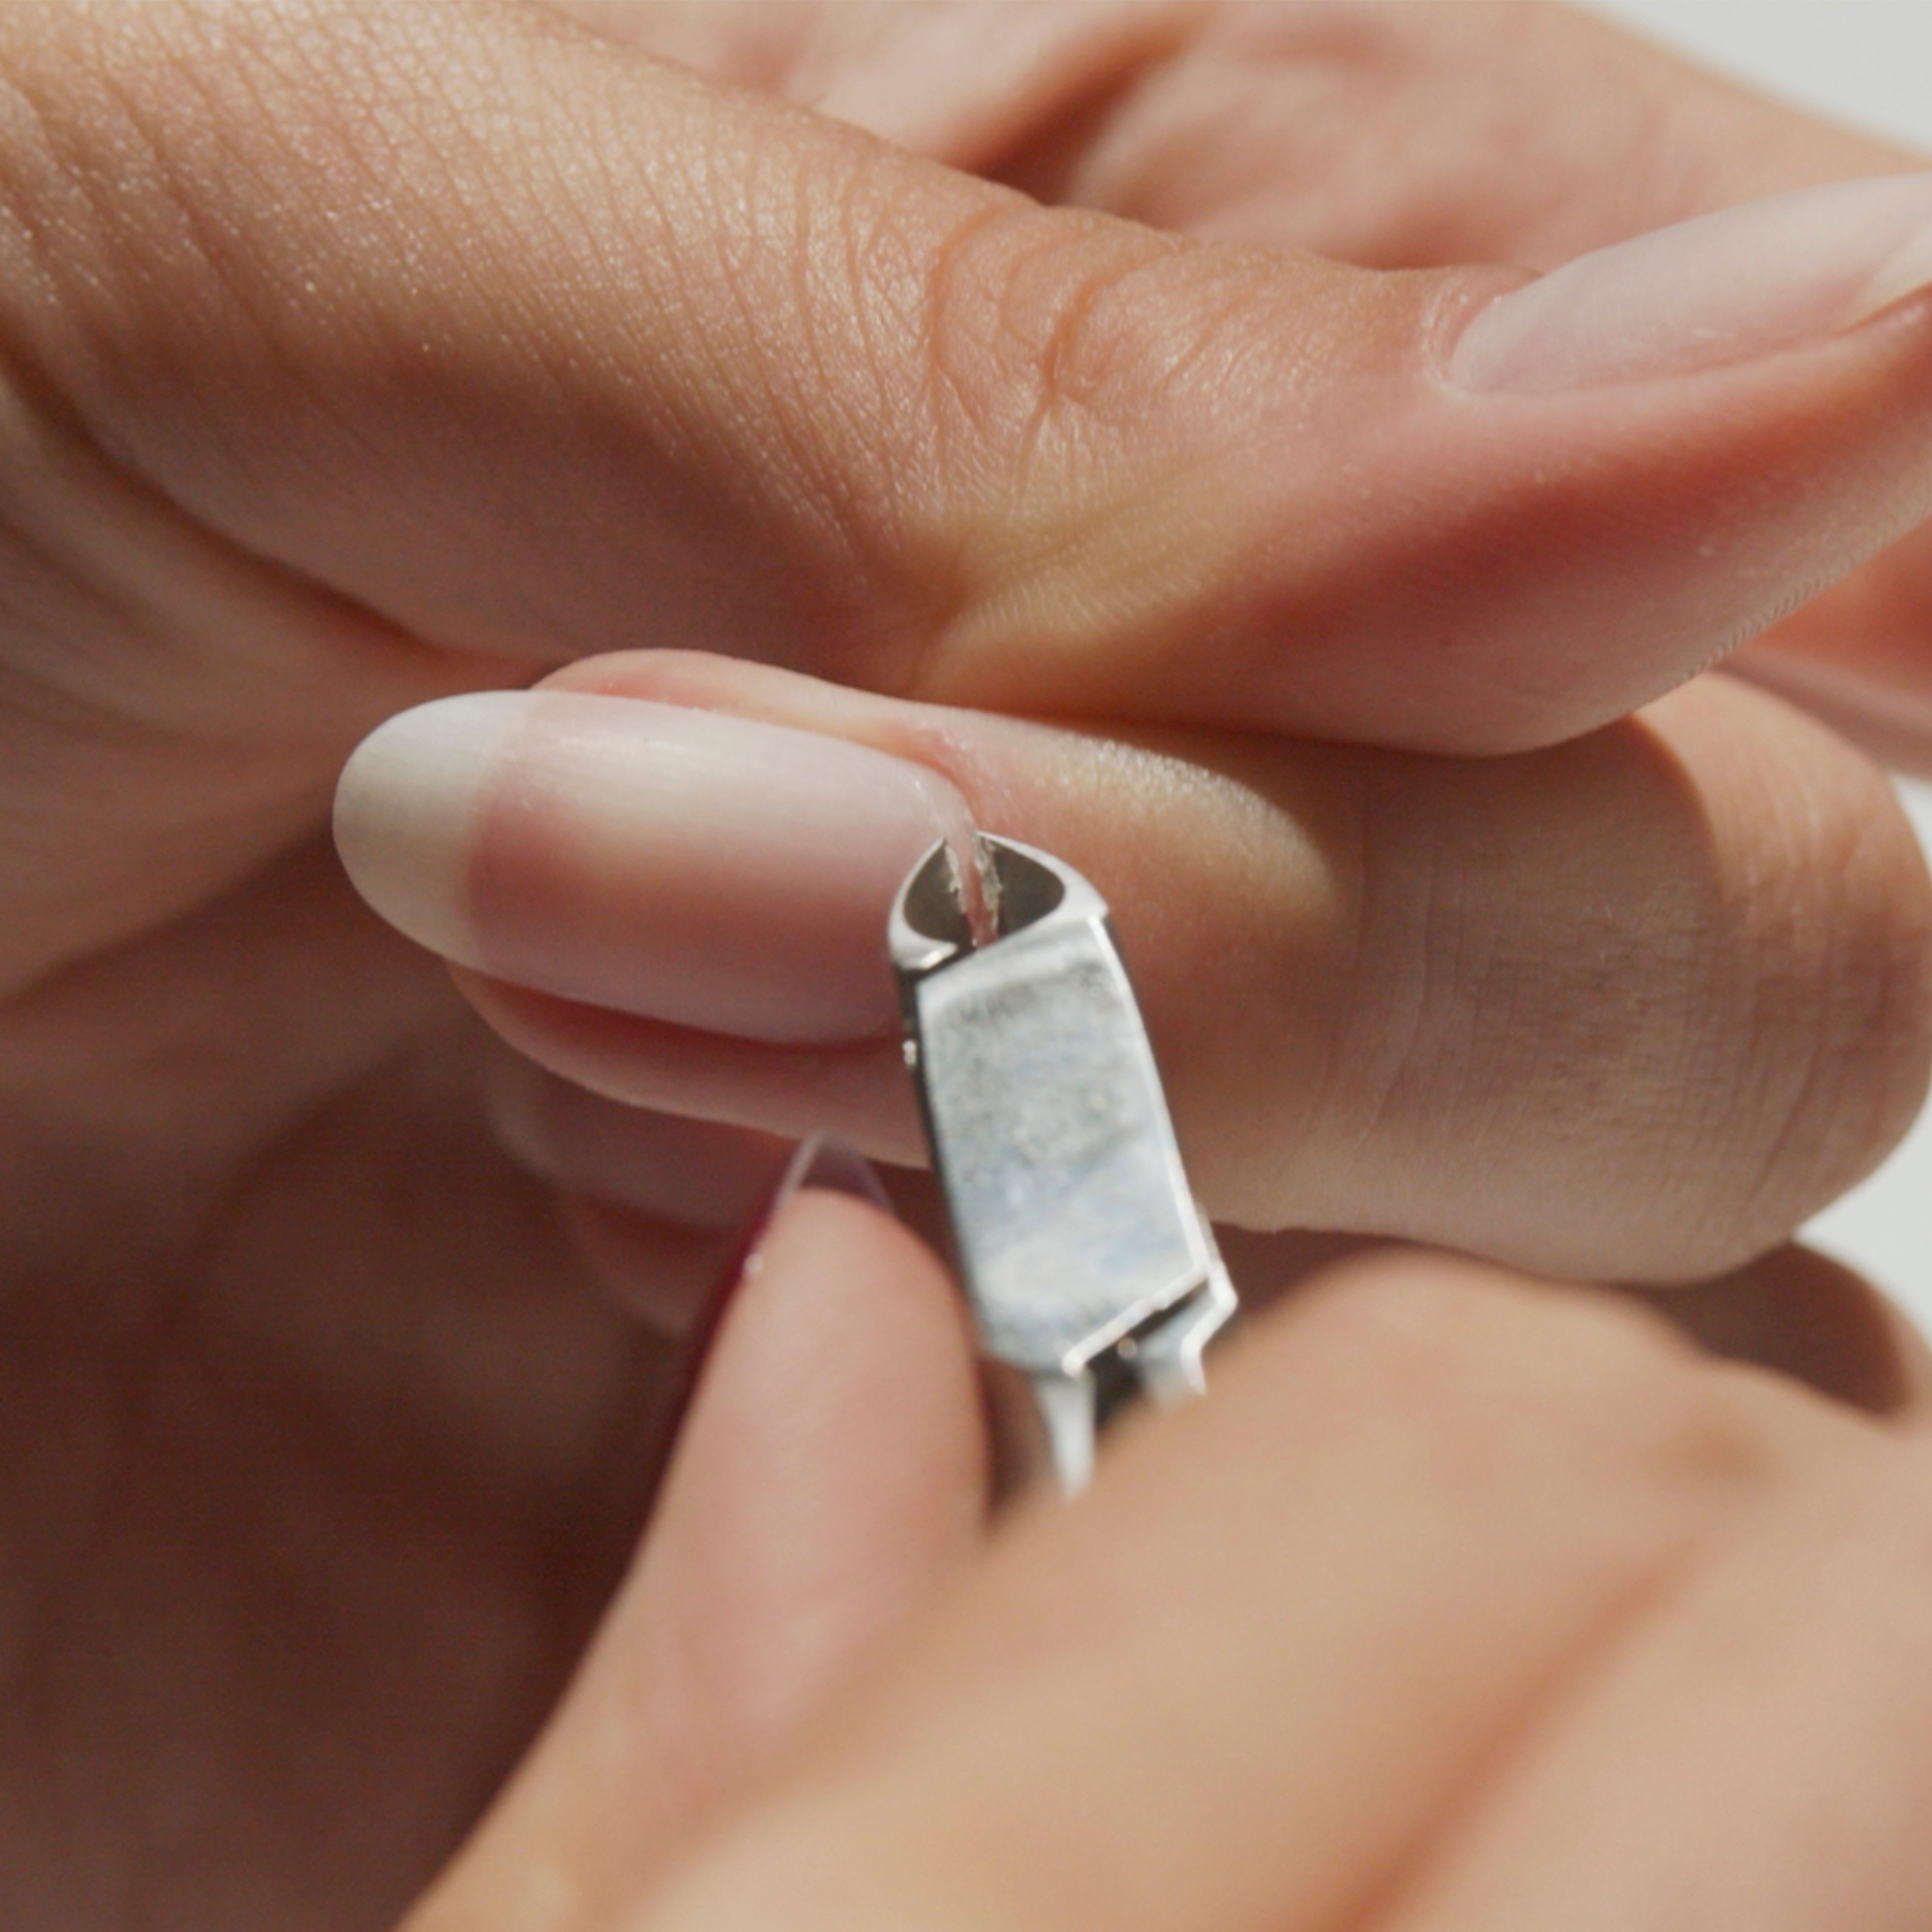
If necessary, trim off excess cuticles with the Cuticle Nipper. Make sure to always look between the blades so you know exactly where you are about to cut. For a clean trim, use the tip of the blades and gently cut the cuticle in one long piece. If cutting your cuticles scares you, skip this step!
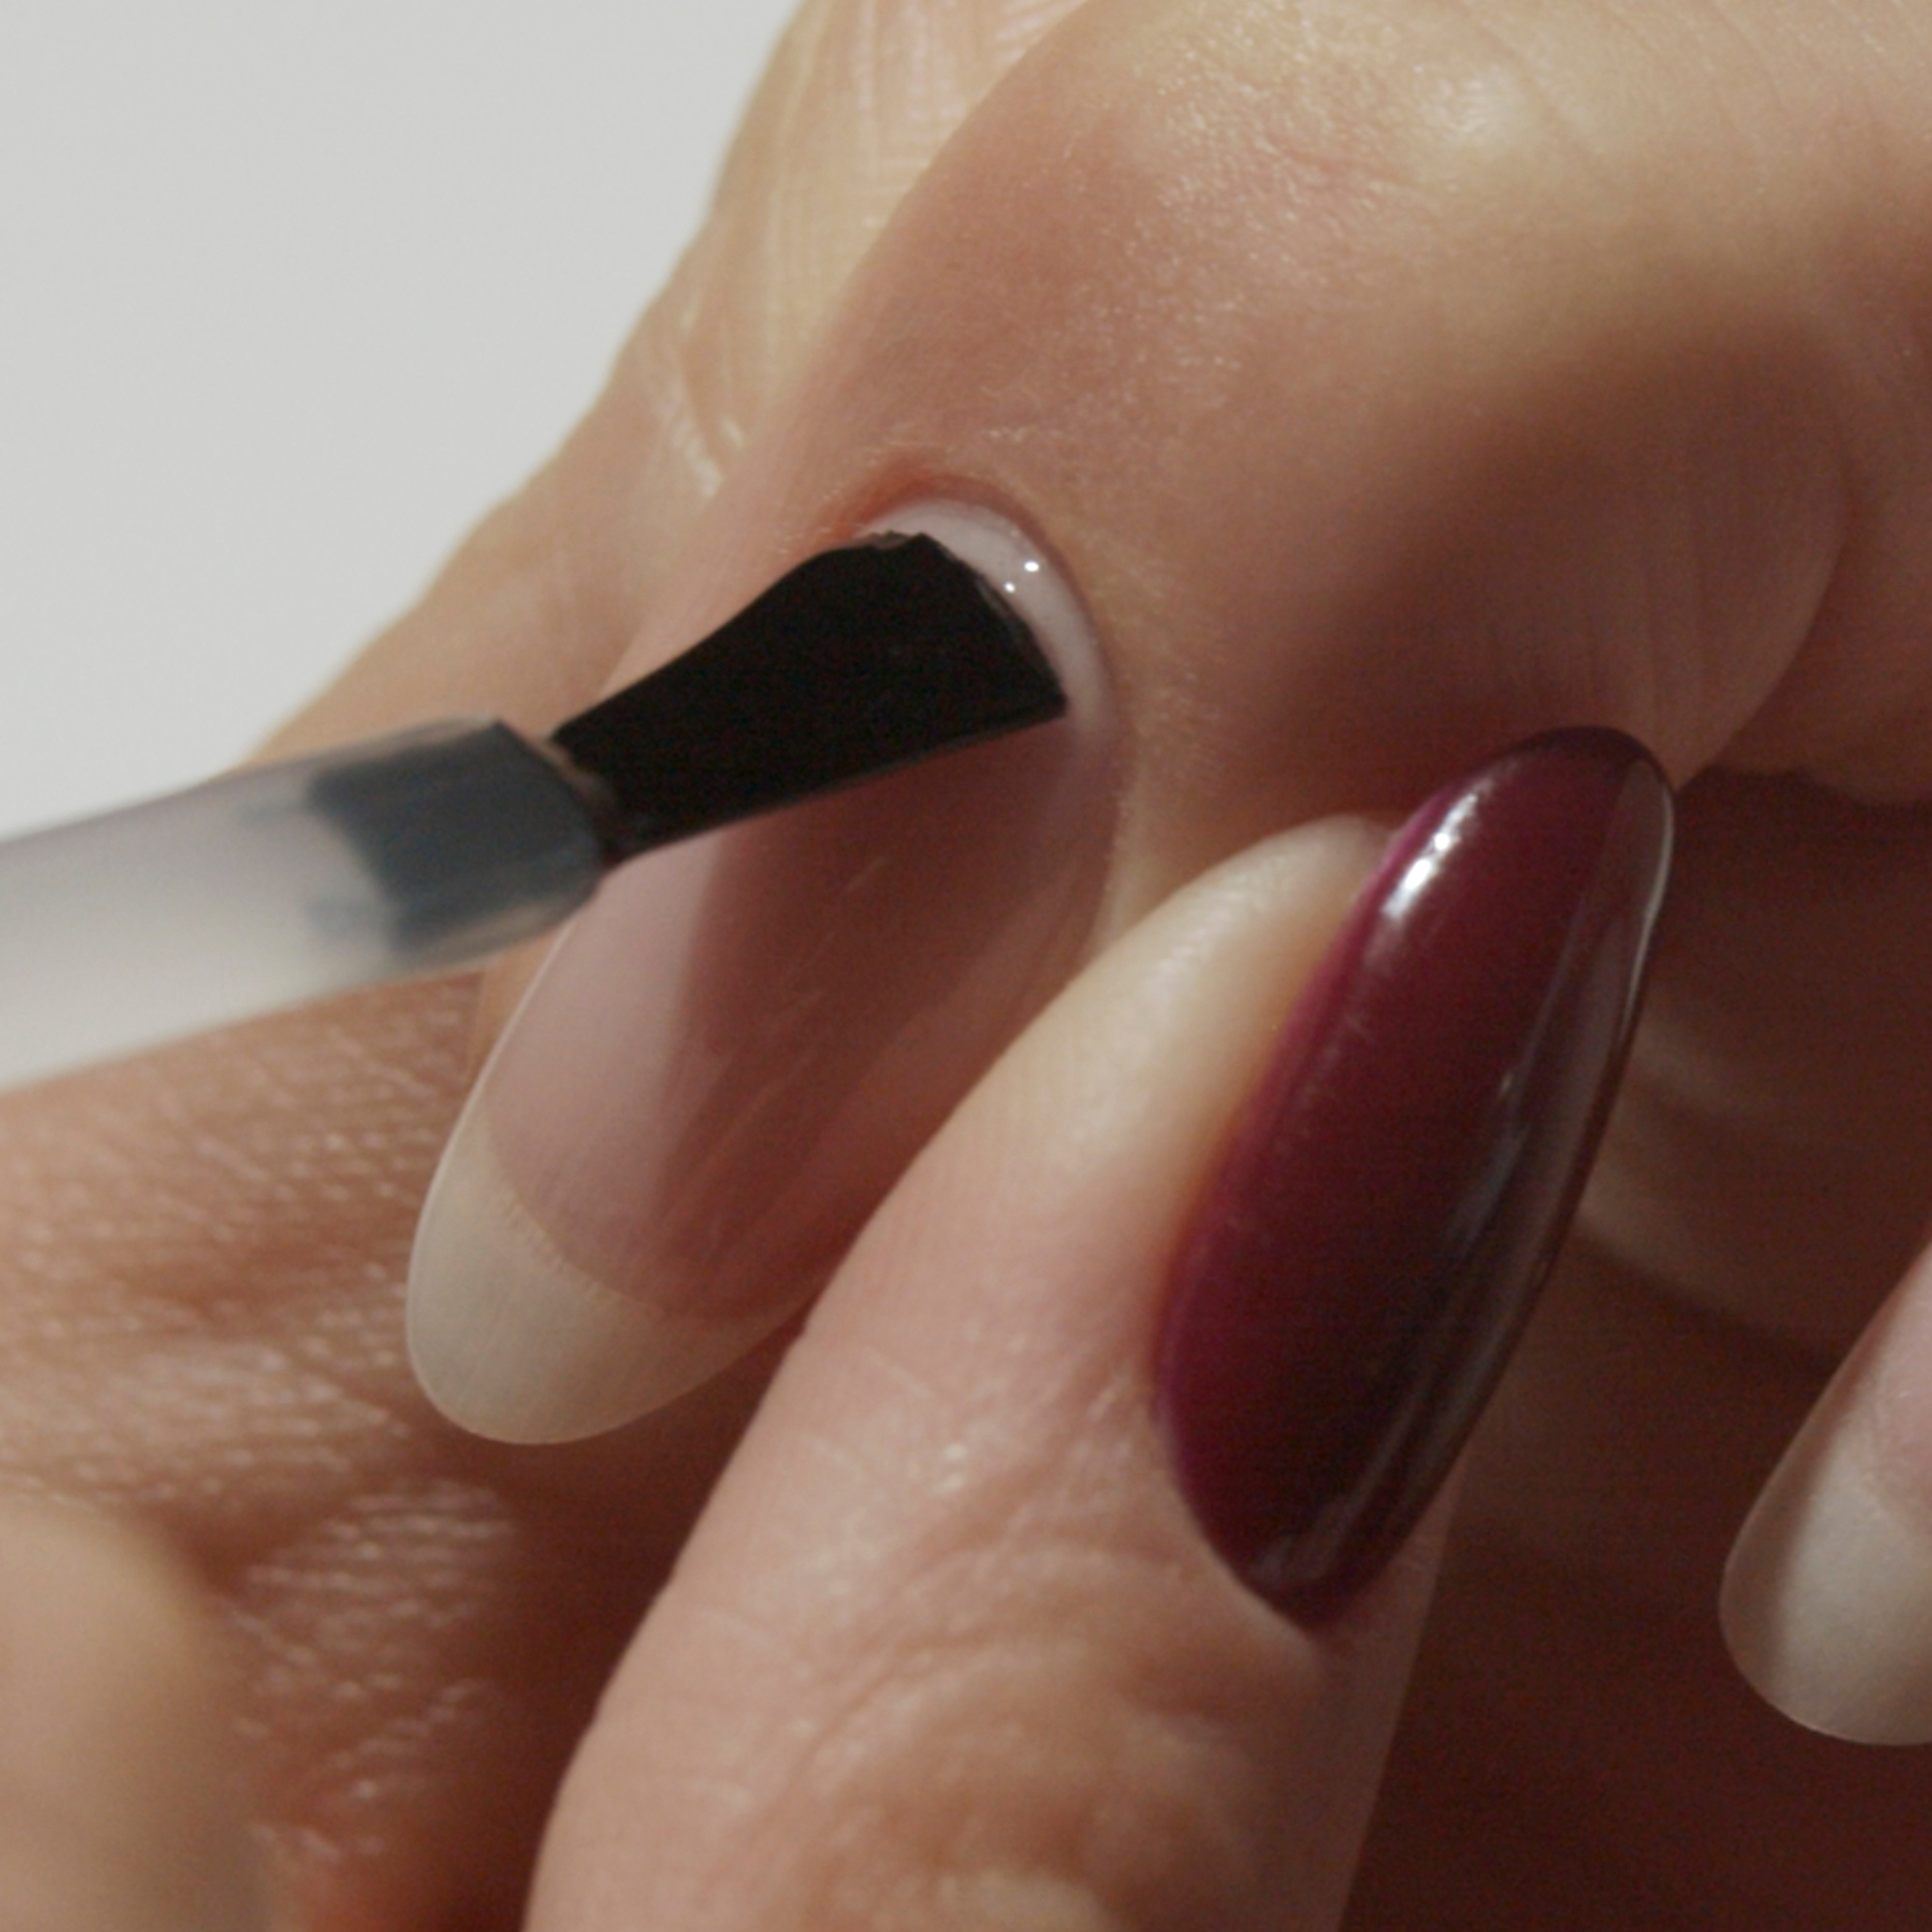
On one nail at a time, apply an even layer of Base Coat and immediately set your application by curing the gel under the LED Lamp for 5 seconds. If you do not set the gel, the application will not be as precise.
Once the base is applied and set on all nails, cure for 60 seconds under the LED Lamp. Ensure you slide your hand all the way into the lamp and that your middle finger reaches the embossed trackpad.
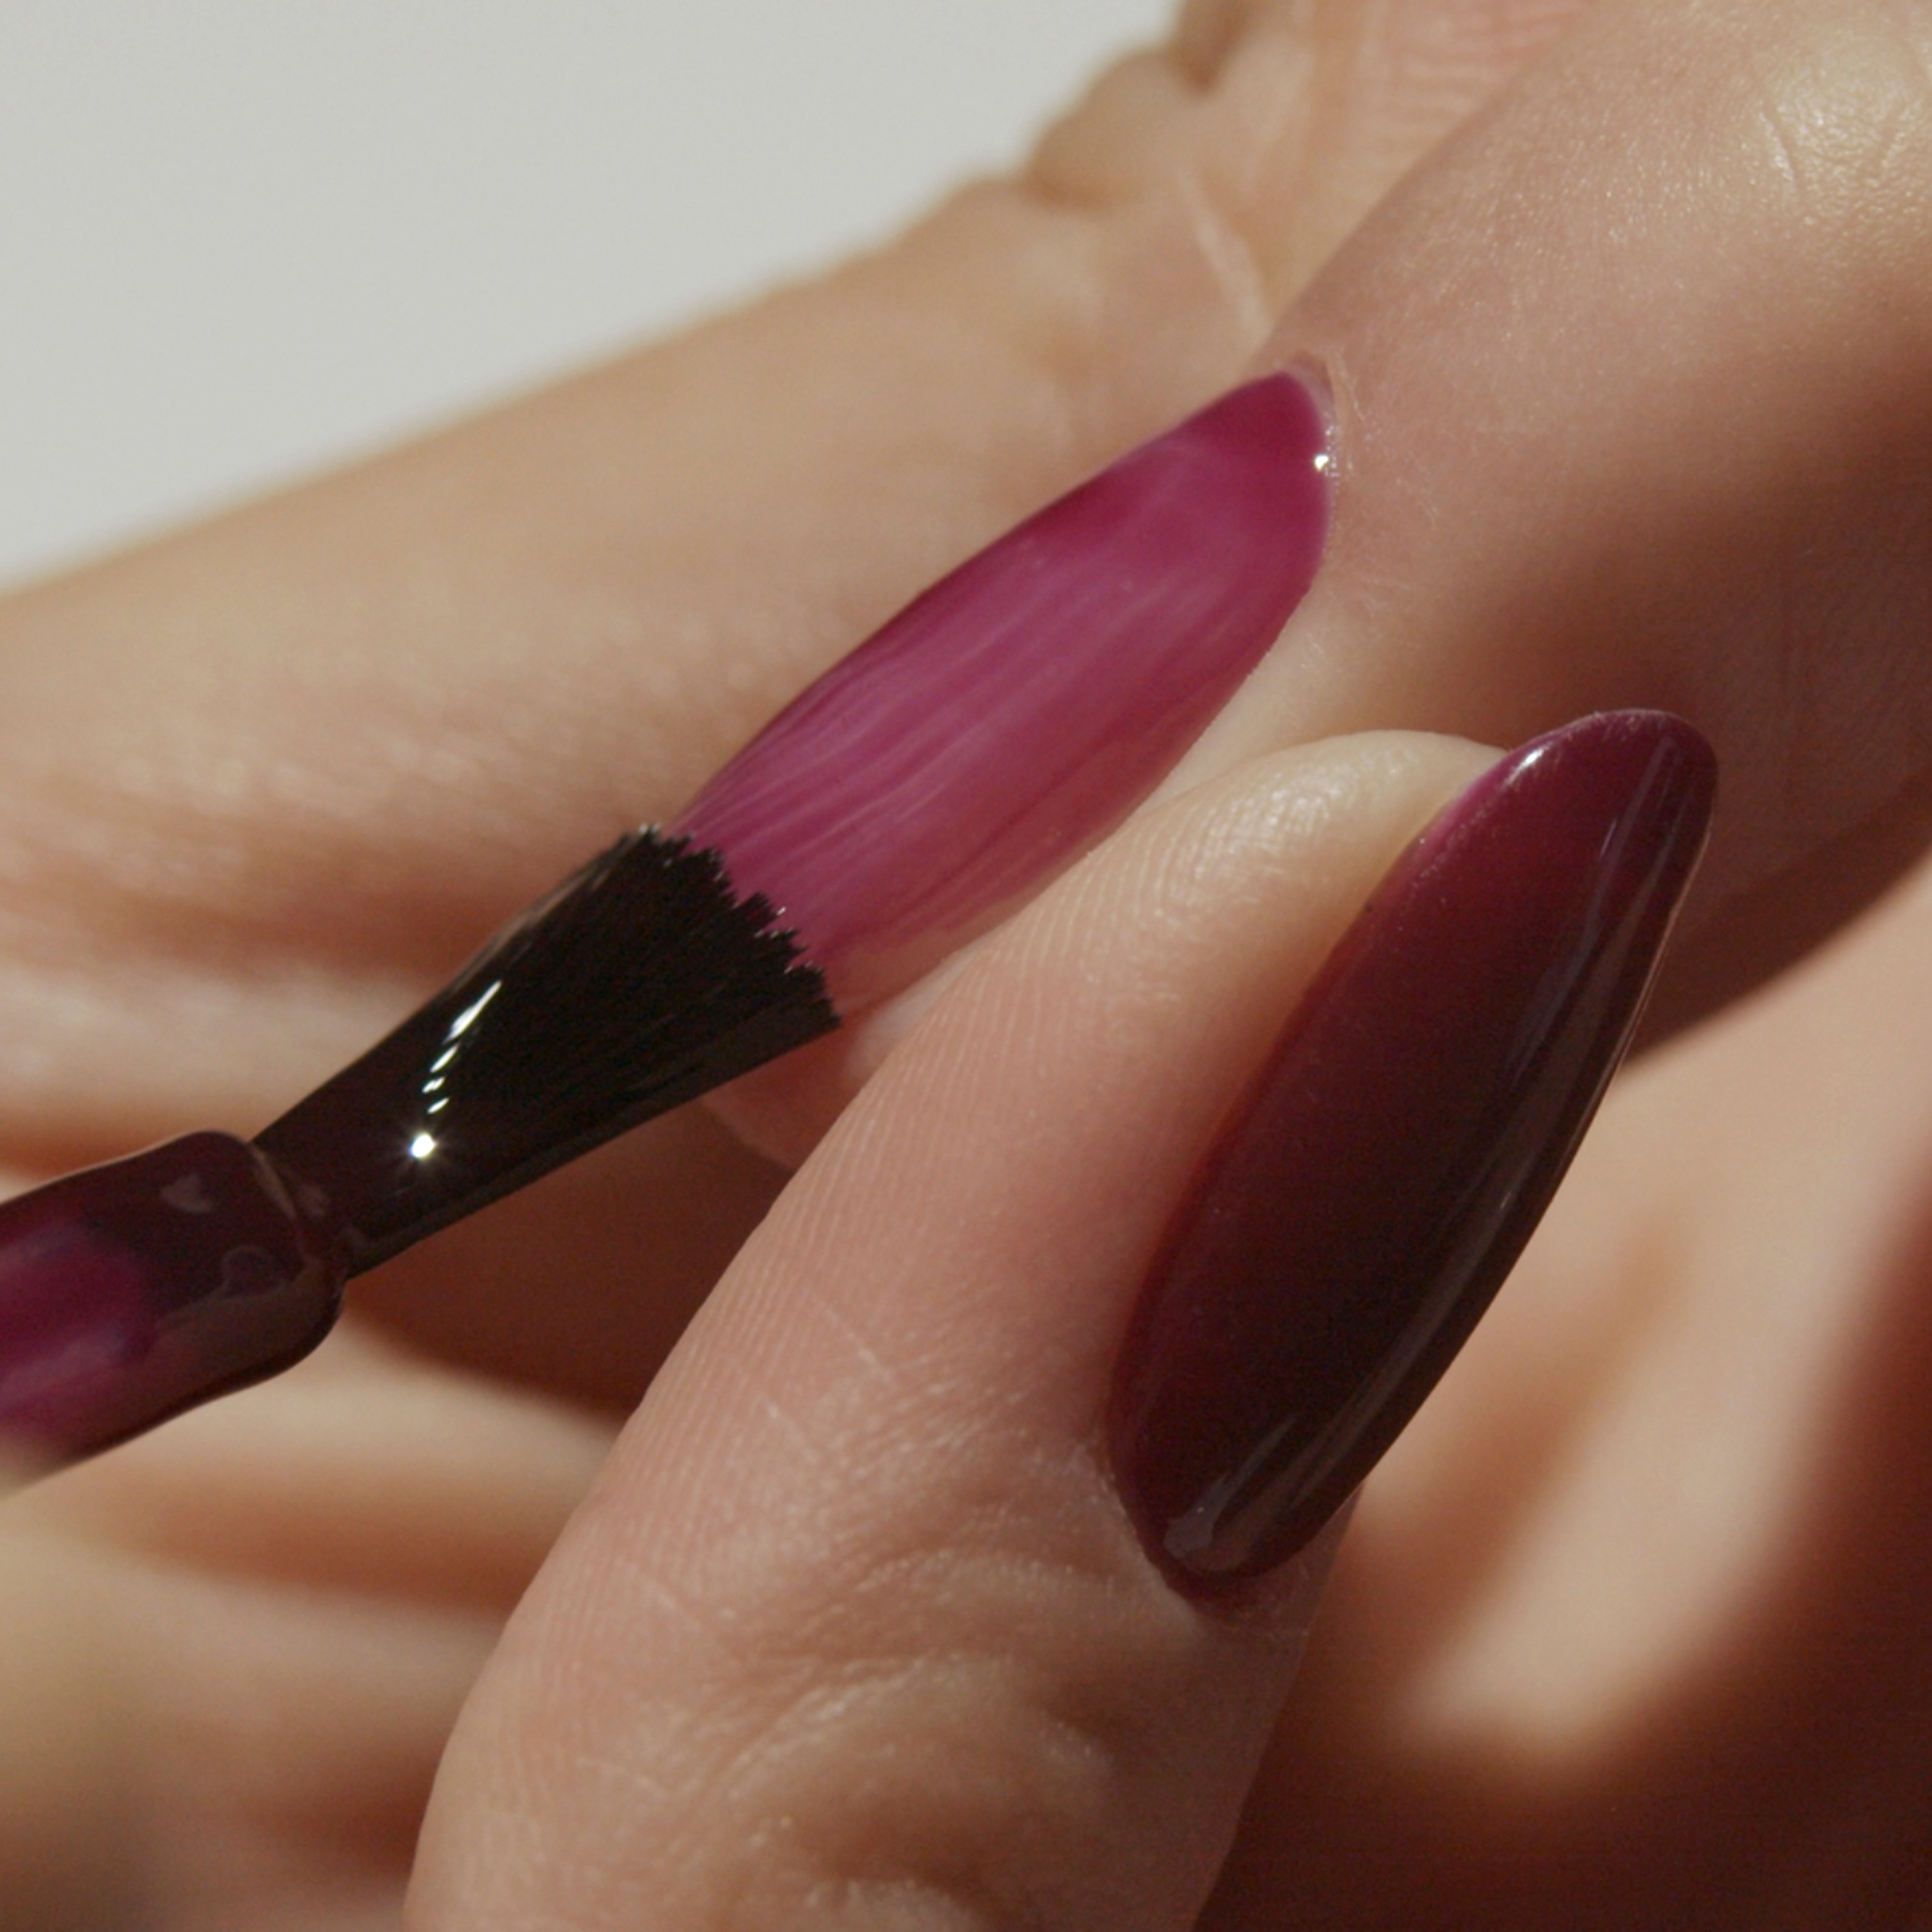
Apply 3 thin layers of colour. Cure each layer for 60 seconds under the LED Lamp.
Make sure to work with only a small amount of gel on your brush for a flawless application. Use the sides of the bottleneck to wipe off any excess gel. Start by applying the colour to the centre of the nail. Slide the gel up towards the cuticles without touching them. With long and fluid strokes, glide the gel down the sides of the nail to the tip.
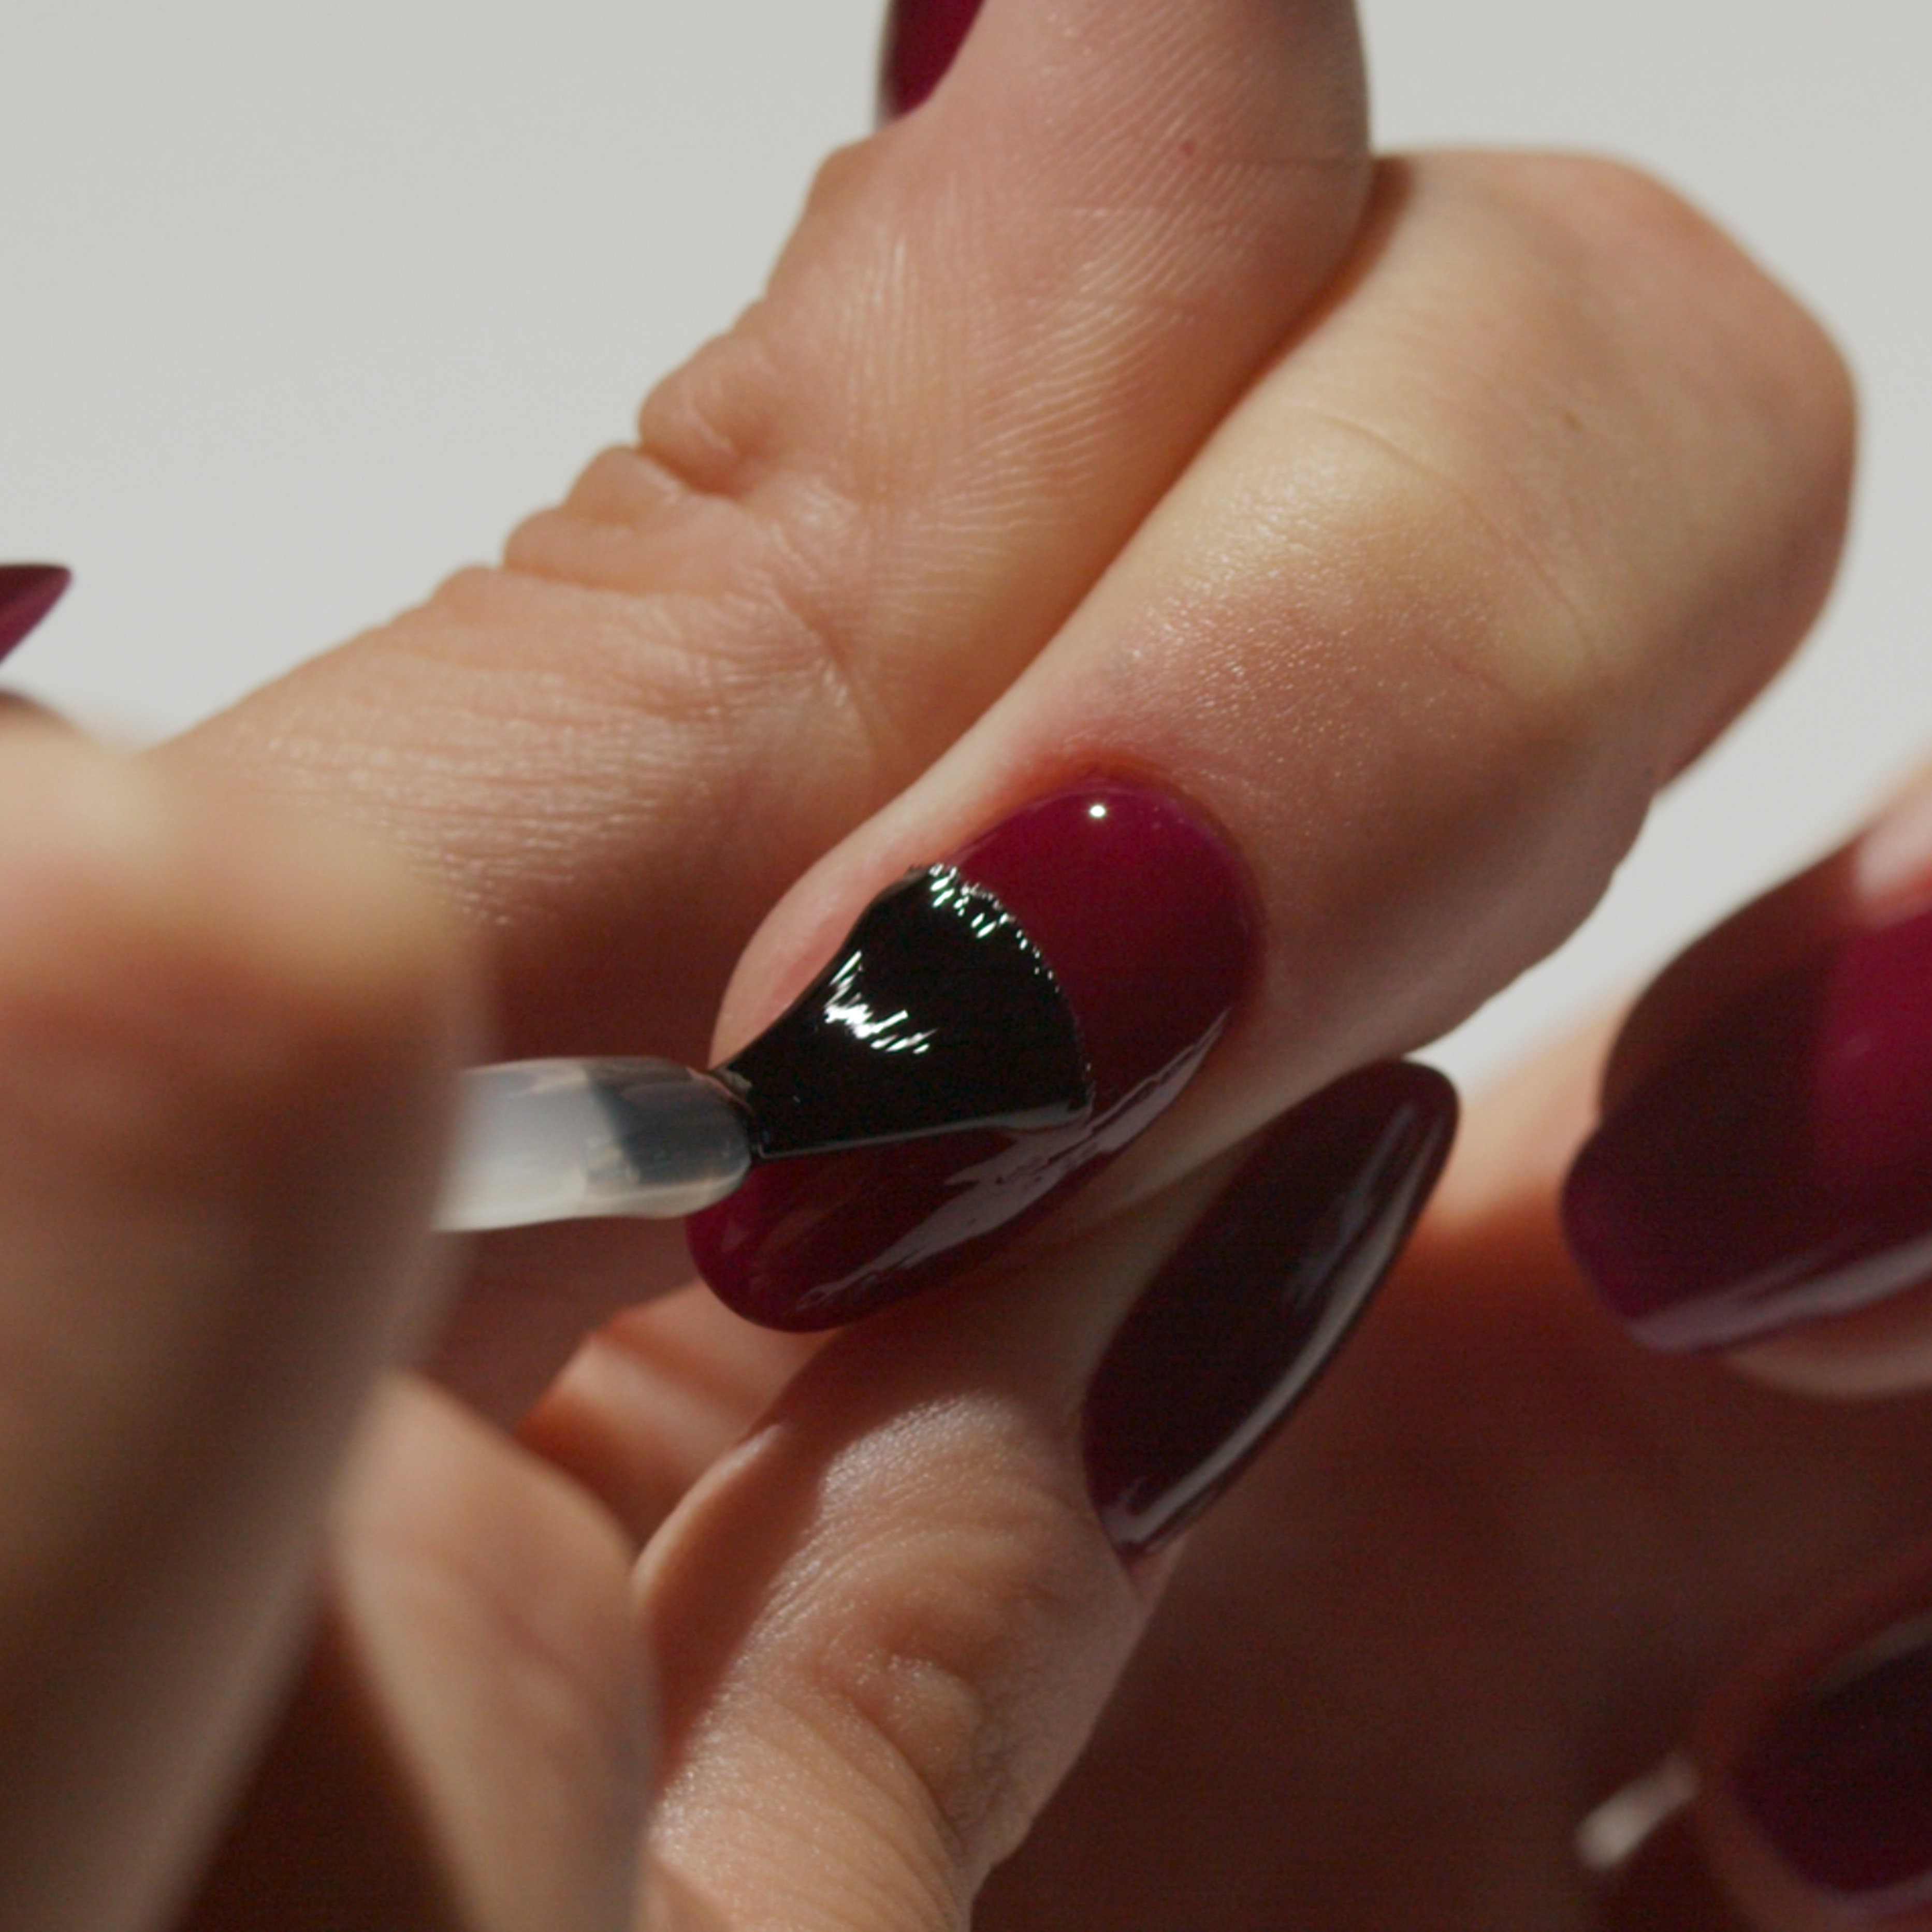
Apply a layer of Top Coat. Cure for 3 minutes under the LED Lamp.