What Is Blooming Gel? How to Use It for Nail Art

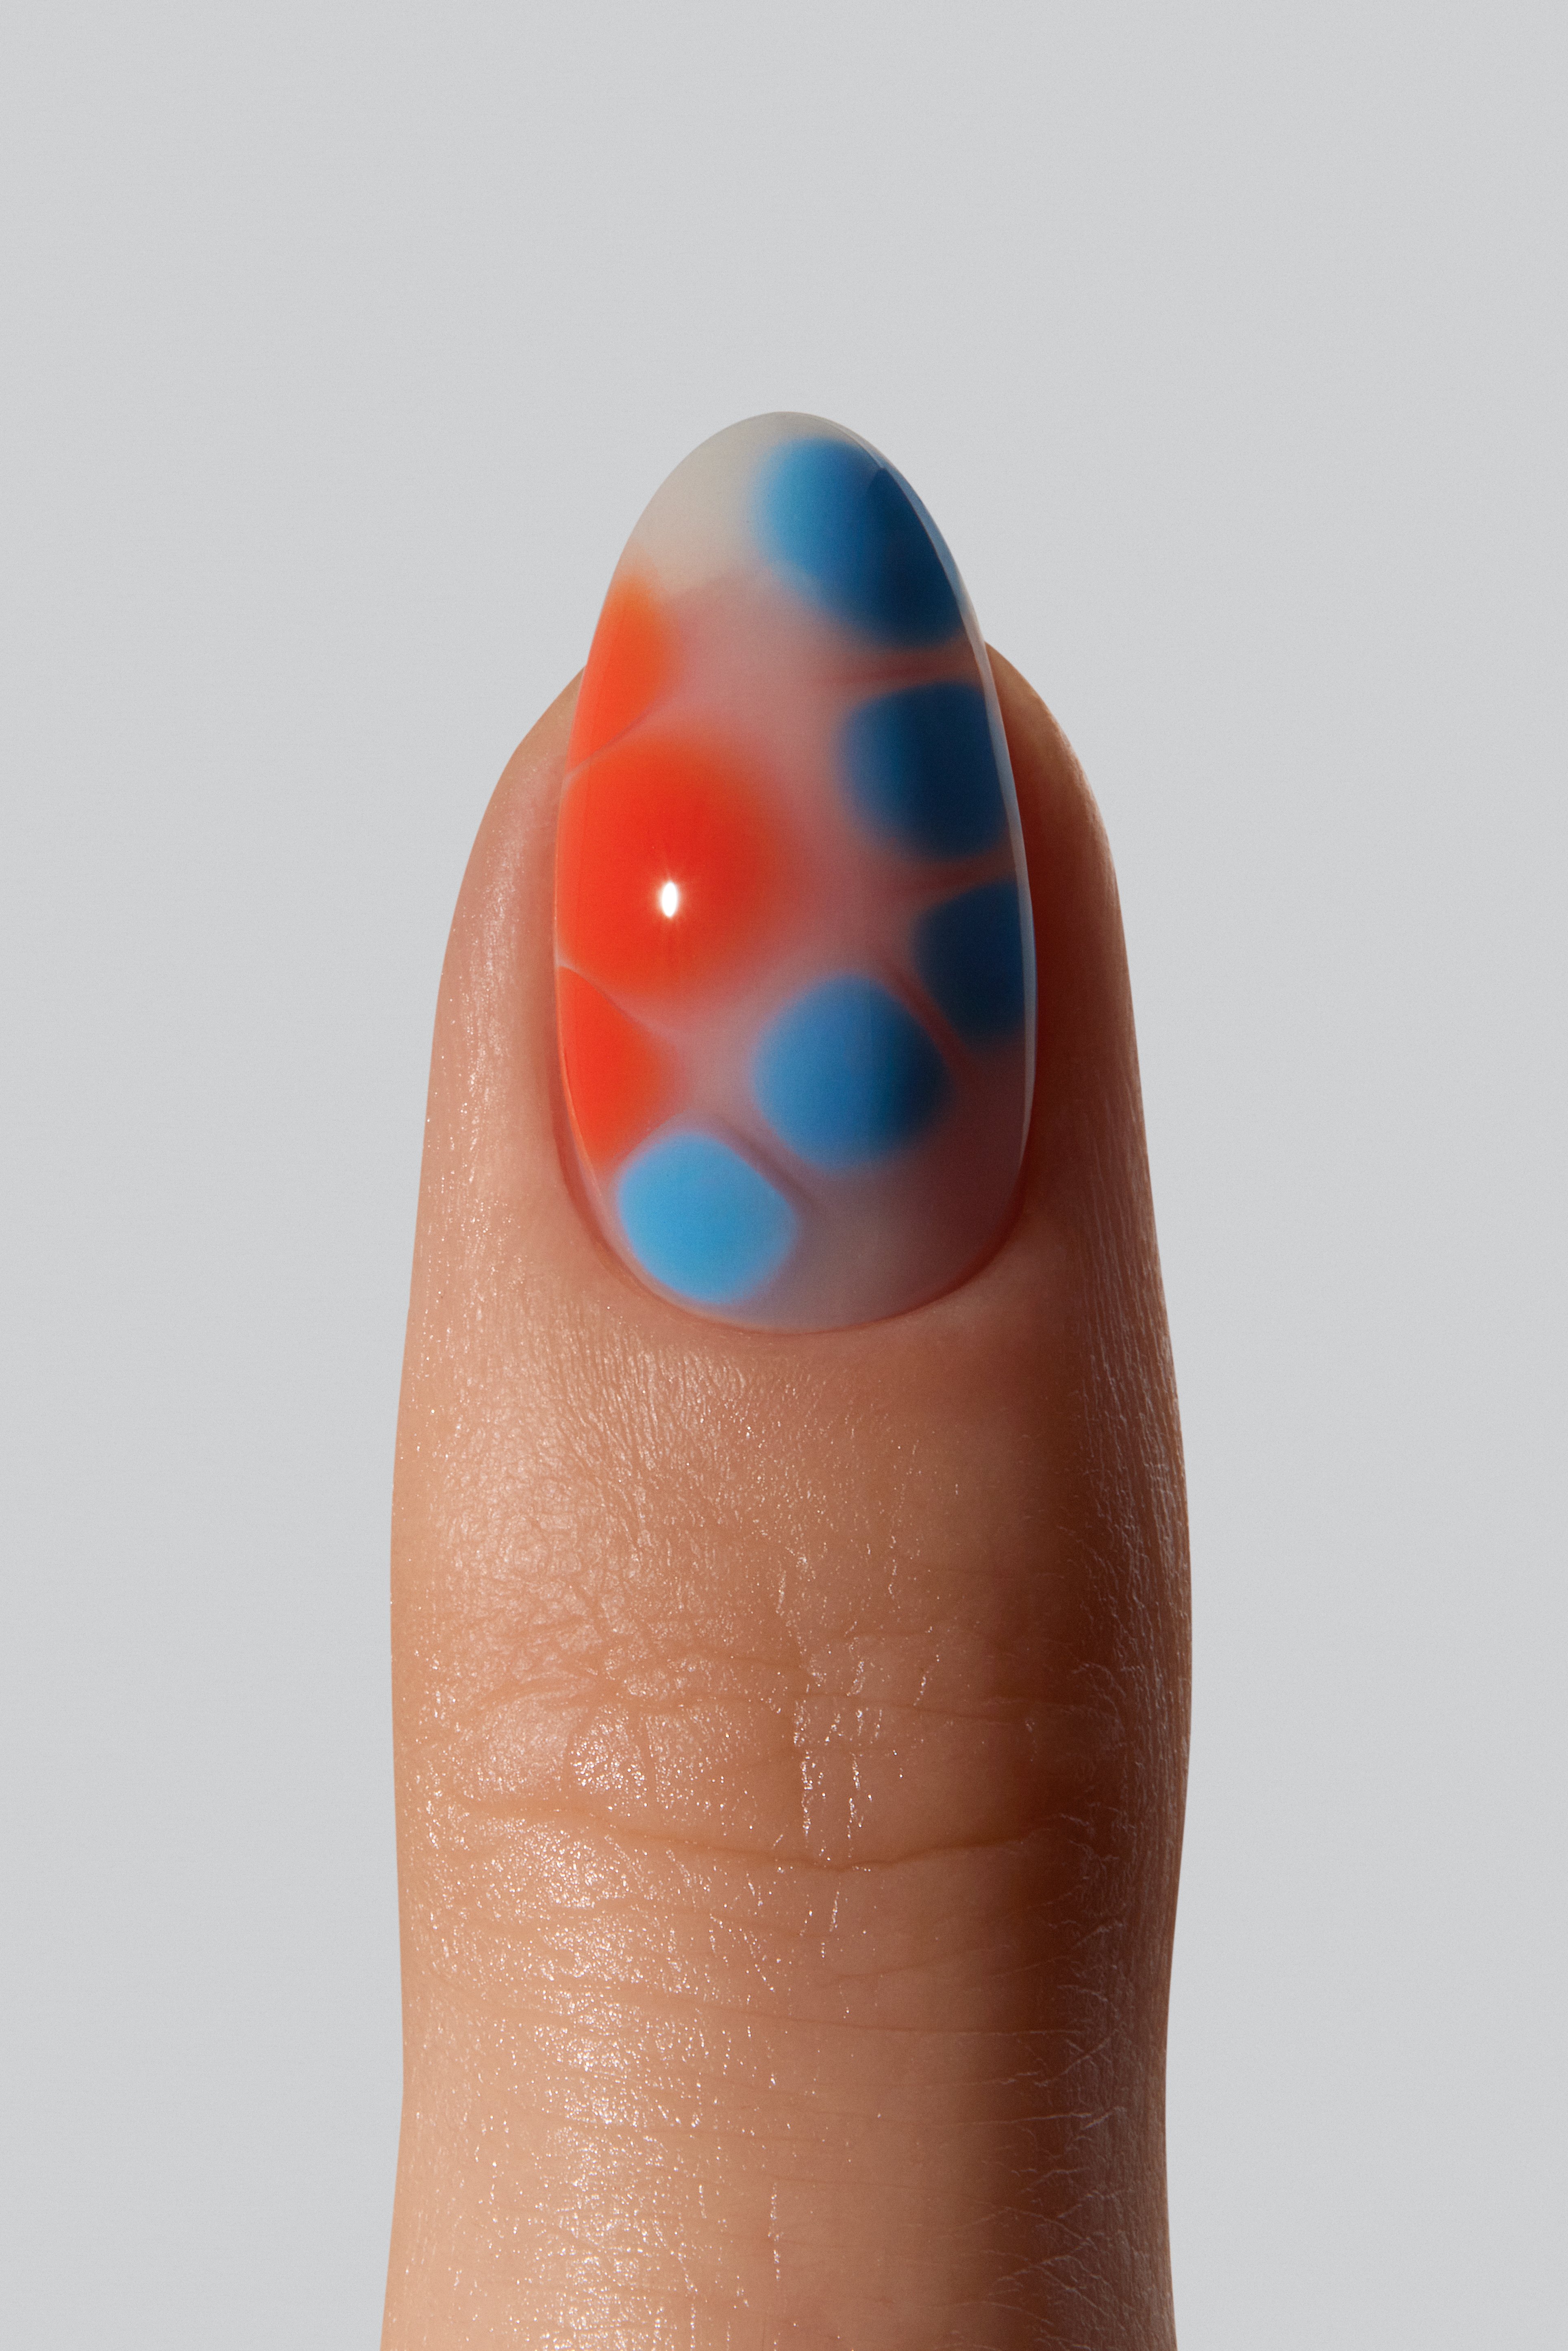
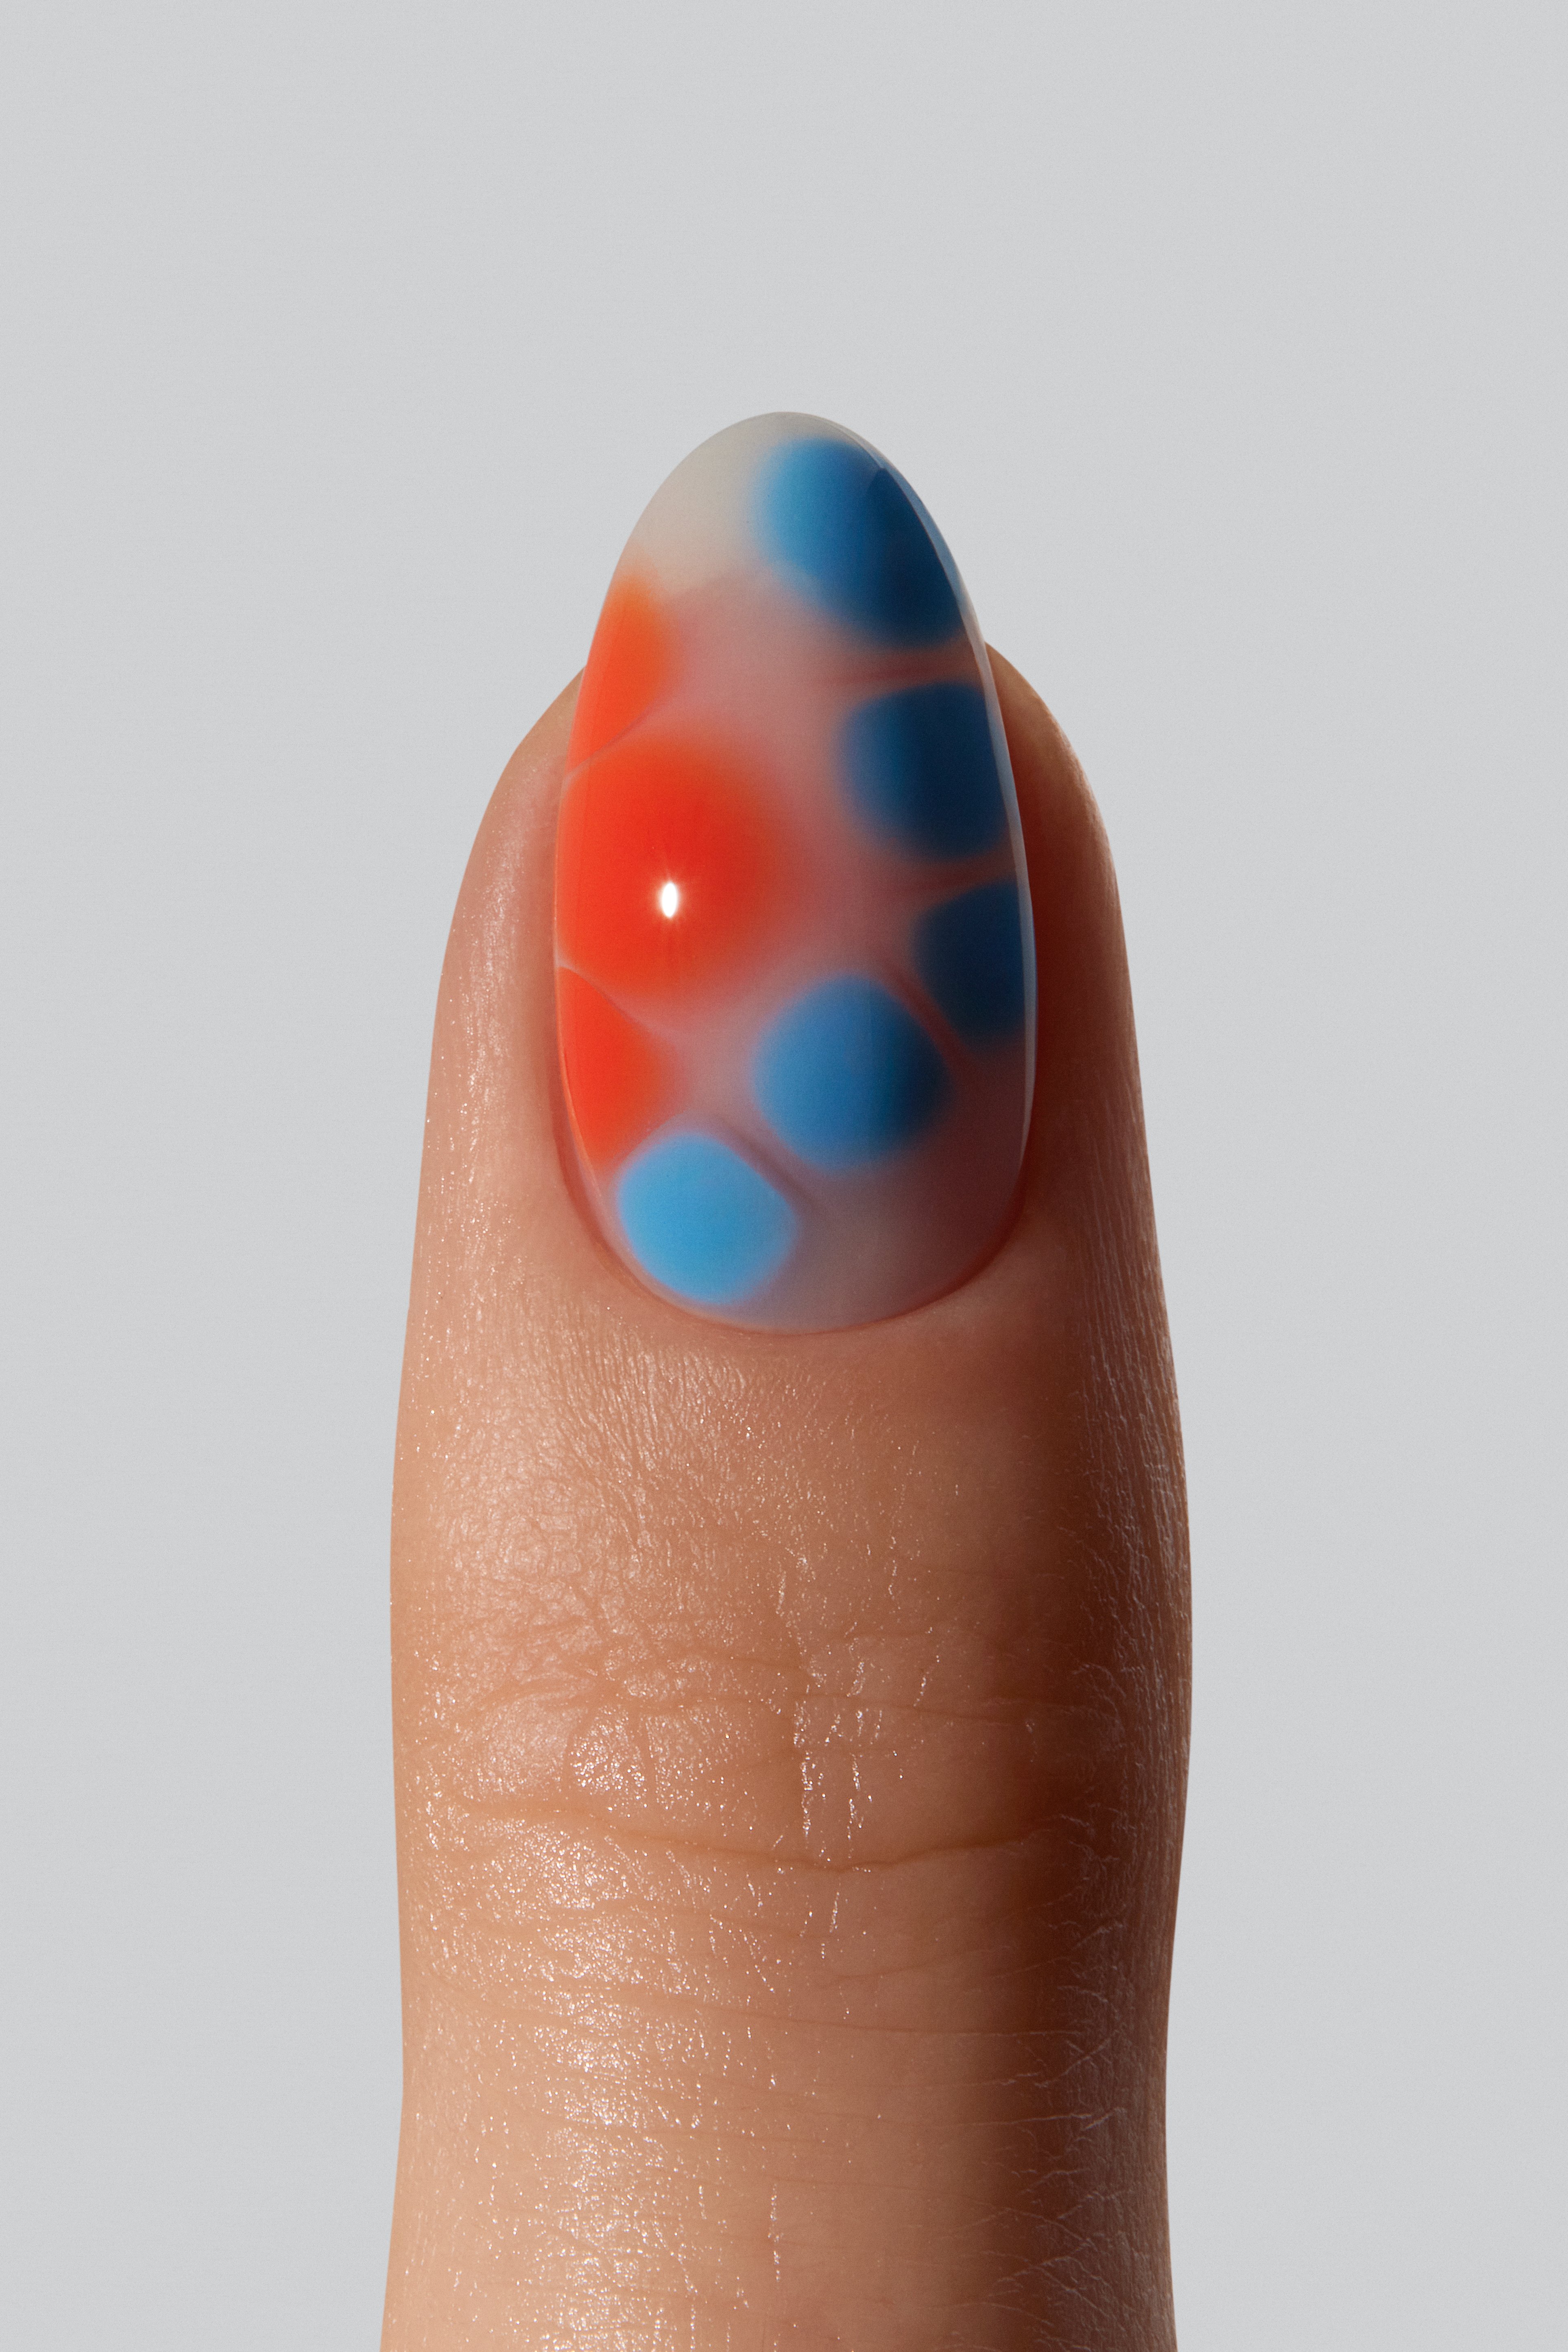
If you’ve ever looked at a perfectly diffused, almost watercolour-like manicure and wondered how someone possibly painted that by hand, there’s a good chance they didn’t. Enter Blooming Gel.
Blooming Gel is a clear nail art gel that makes colour spread and soften before curing, creating those fluid, organic designs that look much more complicated than they actually are.
So, what is blooming gel exactly? Think of it as the layer that does some of the nail art for you.
What is Blooming Gel?
Blooming Gel is a clear, honey-textured gel designed to make Gel Polish disperse when placed on top of it.
The magic happens before curing. Apply a thin layer of Blooming Gel, leave it uncured, then add small drops of colour. The pigment will slowly spread through the gel, creating soft edges and organic shapes as it moves.
Wait a little, get more bloom. Cure sooner, keep things more defined.
Once the design looks right, cure it under your LED Lamp and the movement stops. Your accidental-looking-but-actually-very-intentional nail art is officially set.
What can you do with Blooming Gel?
Quite a lot, which is part of the fun.
Blooming Gel works especially well for designs that are meant to feel a little organic rather than perfectly precise:
- Marble and stone effects
- Watercolour designs
- Soft florals and petals
- Tortoiseshell-inspired nails
- Aura-like colour diffusion
- Abstract swirls and shapes
And because the gel does the dispersing for you, every nail will naturally come out a little different. In this case, that’s a good thing.
How to use Blooming Gel
The basic formula is simple: finished base colour, uncured Blooming Gel, a little colour, then patience.
Here’s how we do it.
1. Start with your usual gel manicure prep
Complete the GELCARE Manicure Steps as usual, including proper cuticle and nail plate prep.
Blooming Gel might be the fun part, but good prep is still doing the heavy lifting underneath.
2. Apply Base Coat and your base colour
Apply a thin layer of Base Coat and cure according to the GELCARE manicure technique.
Follow with 2–3 thin coats of your chosen Gel Polish colour, curing each coat for 60 seconds.
Your base colour sets the mood for the entire design. For something soft and translucent, Nude BB Cream or Rose BB Cream makes a very good canvas. For something bolder, go with a contrasting Gel Polish shade and let the Blooming Gel do its thing.
3. Apply Blooming Gel — and don’t cure it
Apply a thin, even layer of Blooming Gel over your cured base colour.
Now: hands away from the lamp.
Blooming Gel needs to stay uncured while you create your design. That wet layer is what gives the colour somewhere to move.
4. Add your colour
Place small amounts of Gel Polish directly into the uncured Blooming Gel.
You can use a Dotting Tool, Round Brush or Double Liner Brush depending on the design you’re going for.
Then let it sit.
You’ll see the pigment start to spread almost immediately. No frantic blending required — the gel is quite literally doing its job.
5. Let it bloom
This is the satisfying part.
Watch the colour slowly soften and expand. Cure sooner if you want the design to stay more defined, or give it a little more time if you want a softer, more diffused effect.
There is a point where more isn’t necessarily more. Once you like the pattern, stop fussing with it and cure.
Perfectly imperfect is kind of the point here.
6. Cure for 60 seconds
Happy with it? Cure the entire Blooming Gel layer under your LED Lamp for 60 seconds.
That freezes the design exactly where it is and stops the pigment from spreading any further.
7. Finish with Top Coat
Apply a thin layer of Top Coat and cure for 3 minutes for optimal shine.
And that’s it. Nail art that looks considerably harder than it was.
How do you control Blooming Gel?
Blooming Gel has a mind of its own — but only a little.
The amount of colour you use and how long you wait before curing will have the biggest effect on your final design.
Smaller dots tend to create more controlled blooms. Add more product and you’ll get larger, softer shapes. Leave everything uncured longer and the pigment will continue to travel.
Your tools matter too. A Dotting Tool is great when you want controlled placement, a Round Brush gives you more freedom with organic shapes, and a Double Liner Brush is useful for finer details and longer strokes.
The best way to get good at it? Play. Blooming Gel is one of those techniques where experimenting is half the point.
Do you cure Blooming Gel before adding colour?
No — and this is the one step you really don’t want to get backwards.
Blooming Gel needs to remain uncured while you add your Gel Polish. The wet gel is what allows the pigment to spread.
Apply Blooming Gel, add your colour, watch it bloom, then cure the finished design for 60 seconds.
Do you need a base colour under Blooming Gel?
Yes. Blooming Gel is the nail art layer, not the manicure itself.
Start with your Base Coat and chosen base colour, cure them completely, then move on to Blooming Gel.
Your base colour can also completely change the personality of the design. Nude BB Cream or Rose BB Cream will keep things sheer and subtle; a more saturated shade can make the exact same technique feel graphic and high-contrast.
Same Blooming Gel. Very different manicure.
What colours work with Blooming Gel?
Technically? Any GELCARE Gel Polish colour.
Contrasting shades make the bloom more obvious, while colours from the same family give you something softer and more tonal. You can also add more than one shade to the same uncured layer and let the colours disperse together.
This is a good place to ignore the rules a little.
Frequently asked questions
What is the difference between Blooming Gel and regular Gel Polish?
Regular Gel Polish gives you colour. Blooming Gel is a clear nail art gel that changes how that colour behaves before curing.
They work together: Blooming Gel creates the movement, Gel Polish creates the design.
Does Blooming Gel need to be cured?
Yes — just not right away.
Leave Blooming Gel uncured while you create the design. Once the pigment has spread exactly as much as you want it to, cure the entire layer for 60 seconds under your LED Lamp.
Is Blooming Gel beginner-friendly?
Very.
You don’t need to hand-paint every swirl, petal or perfectly diffused edge. Place the colour and let the Blooming Gel create the movement for you.
Your first nail might be an experiment. Your second will already make a lot more sense.
What tools do you need for Blooming Gel?
You can experiment using the brush from your Gel Polish bottle, but nail art tools give you much more control.
Try a Dotting Tool for precise dots and placement, a Round Brush for softer organic shapes or a Double Liner Brush for fine lines and abstract details.
When does Blooming Gel go on?
After your Base Coat and base colour have been applied and cured, but before Top Coat.
The order is: base, colour, Blooming Gel, nail art, cure, Top Coat.
Easy enough.