How to successfully achieve the perfect long wear nail polish manicure at home

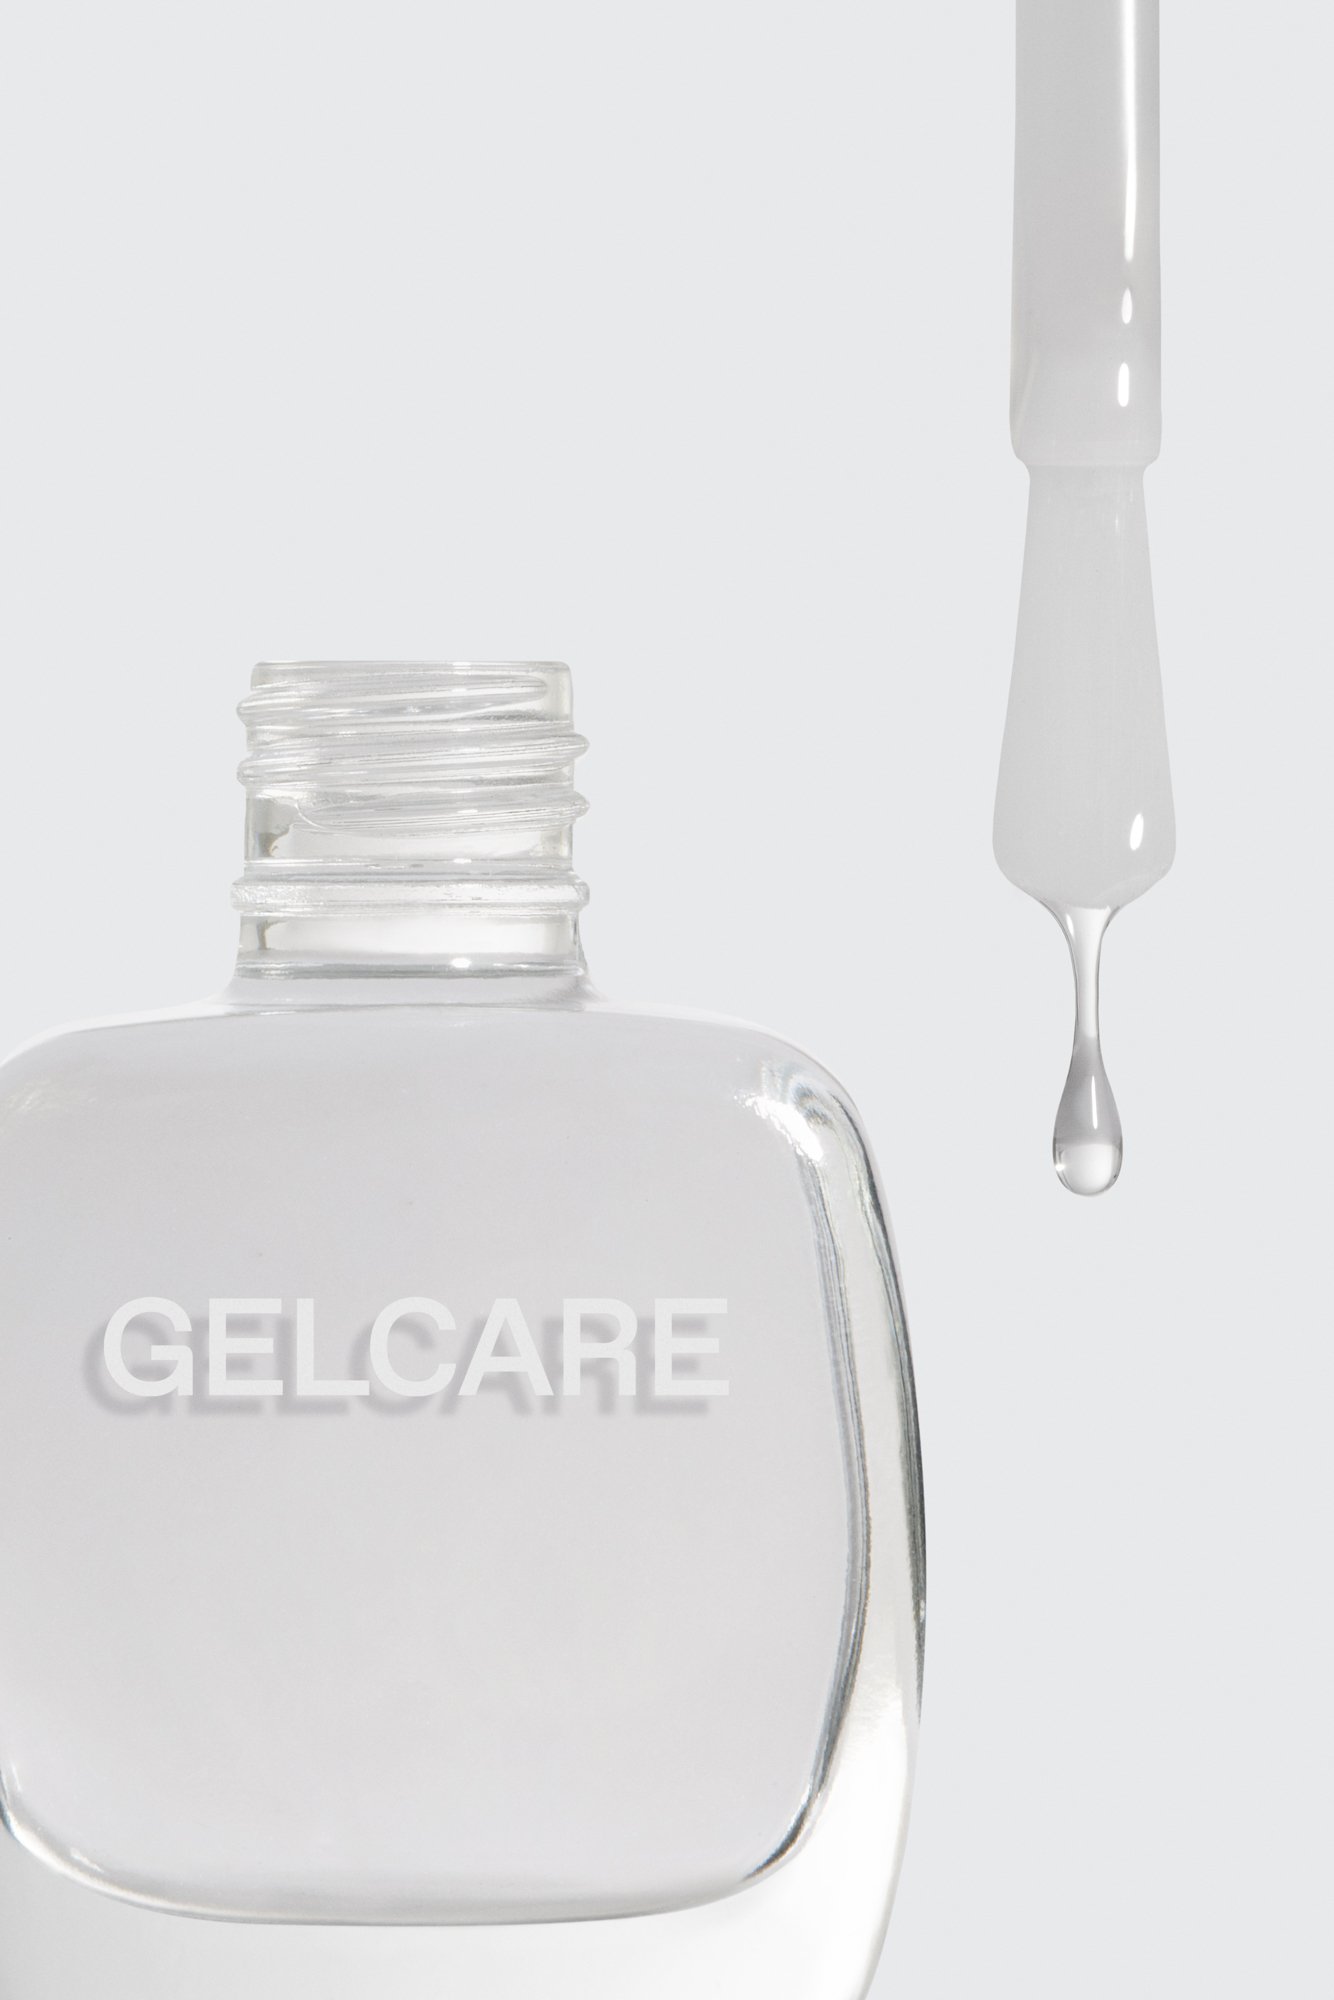

A leader in the at-home gel industry since 2019, Gelcare has recently expanded into the world of Regular Nail Polish. With 16 bestselling shades, two base coats, and the perfect top coat, this new line captures everything we’ve learned about achieving beautiful, long-lasting manicures, without the lamp.
I’m Mylène, Gelcare’s Operations and HR Director, and I had the chance to work closely on the development of these products. Over months of conversations with chemists, partners, and nail experts, I discovered more than just formulations; I learned the science, the artistry, and the little habits that make all the difference in a long-wear manicure.
In this article, I’m sharing everything I’ve learned, straight from the lab to your vanity.
FIRST, SET YOUR GOALS
Before you start, think about what you want from your manicure.
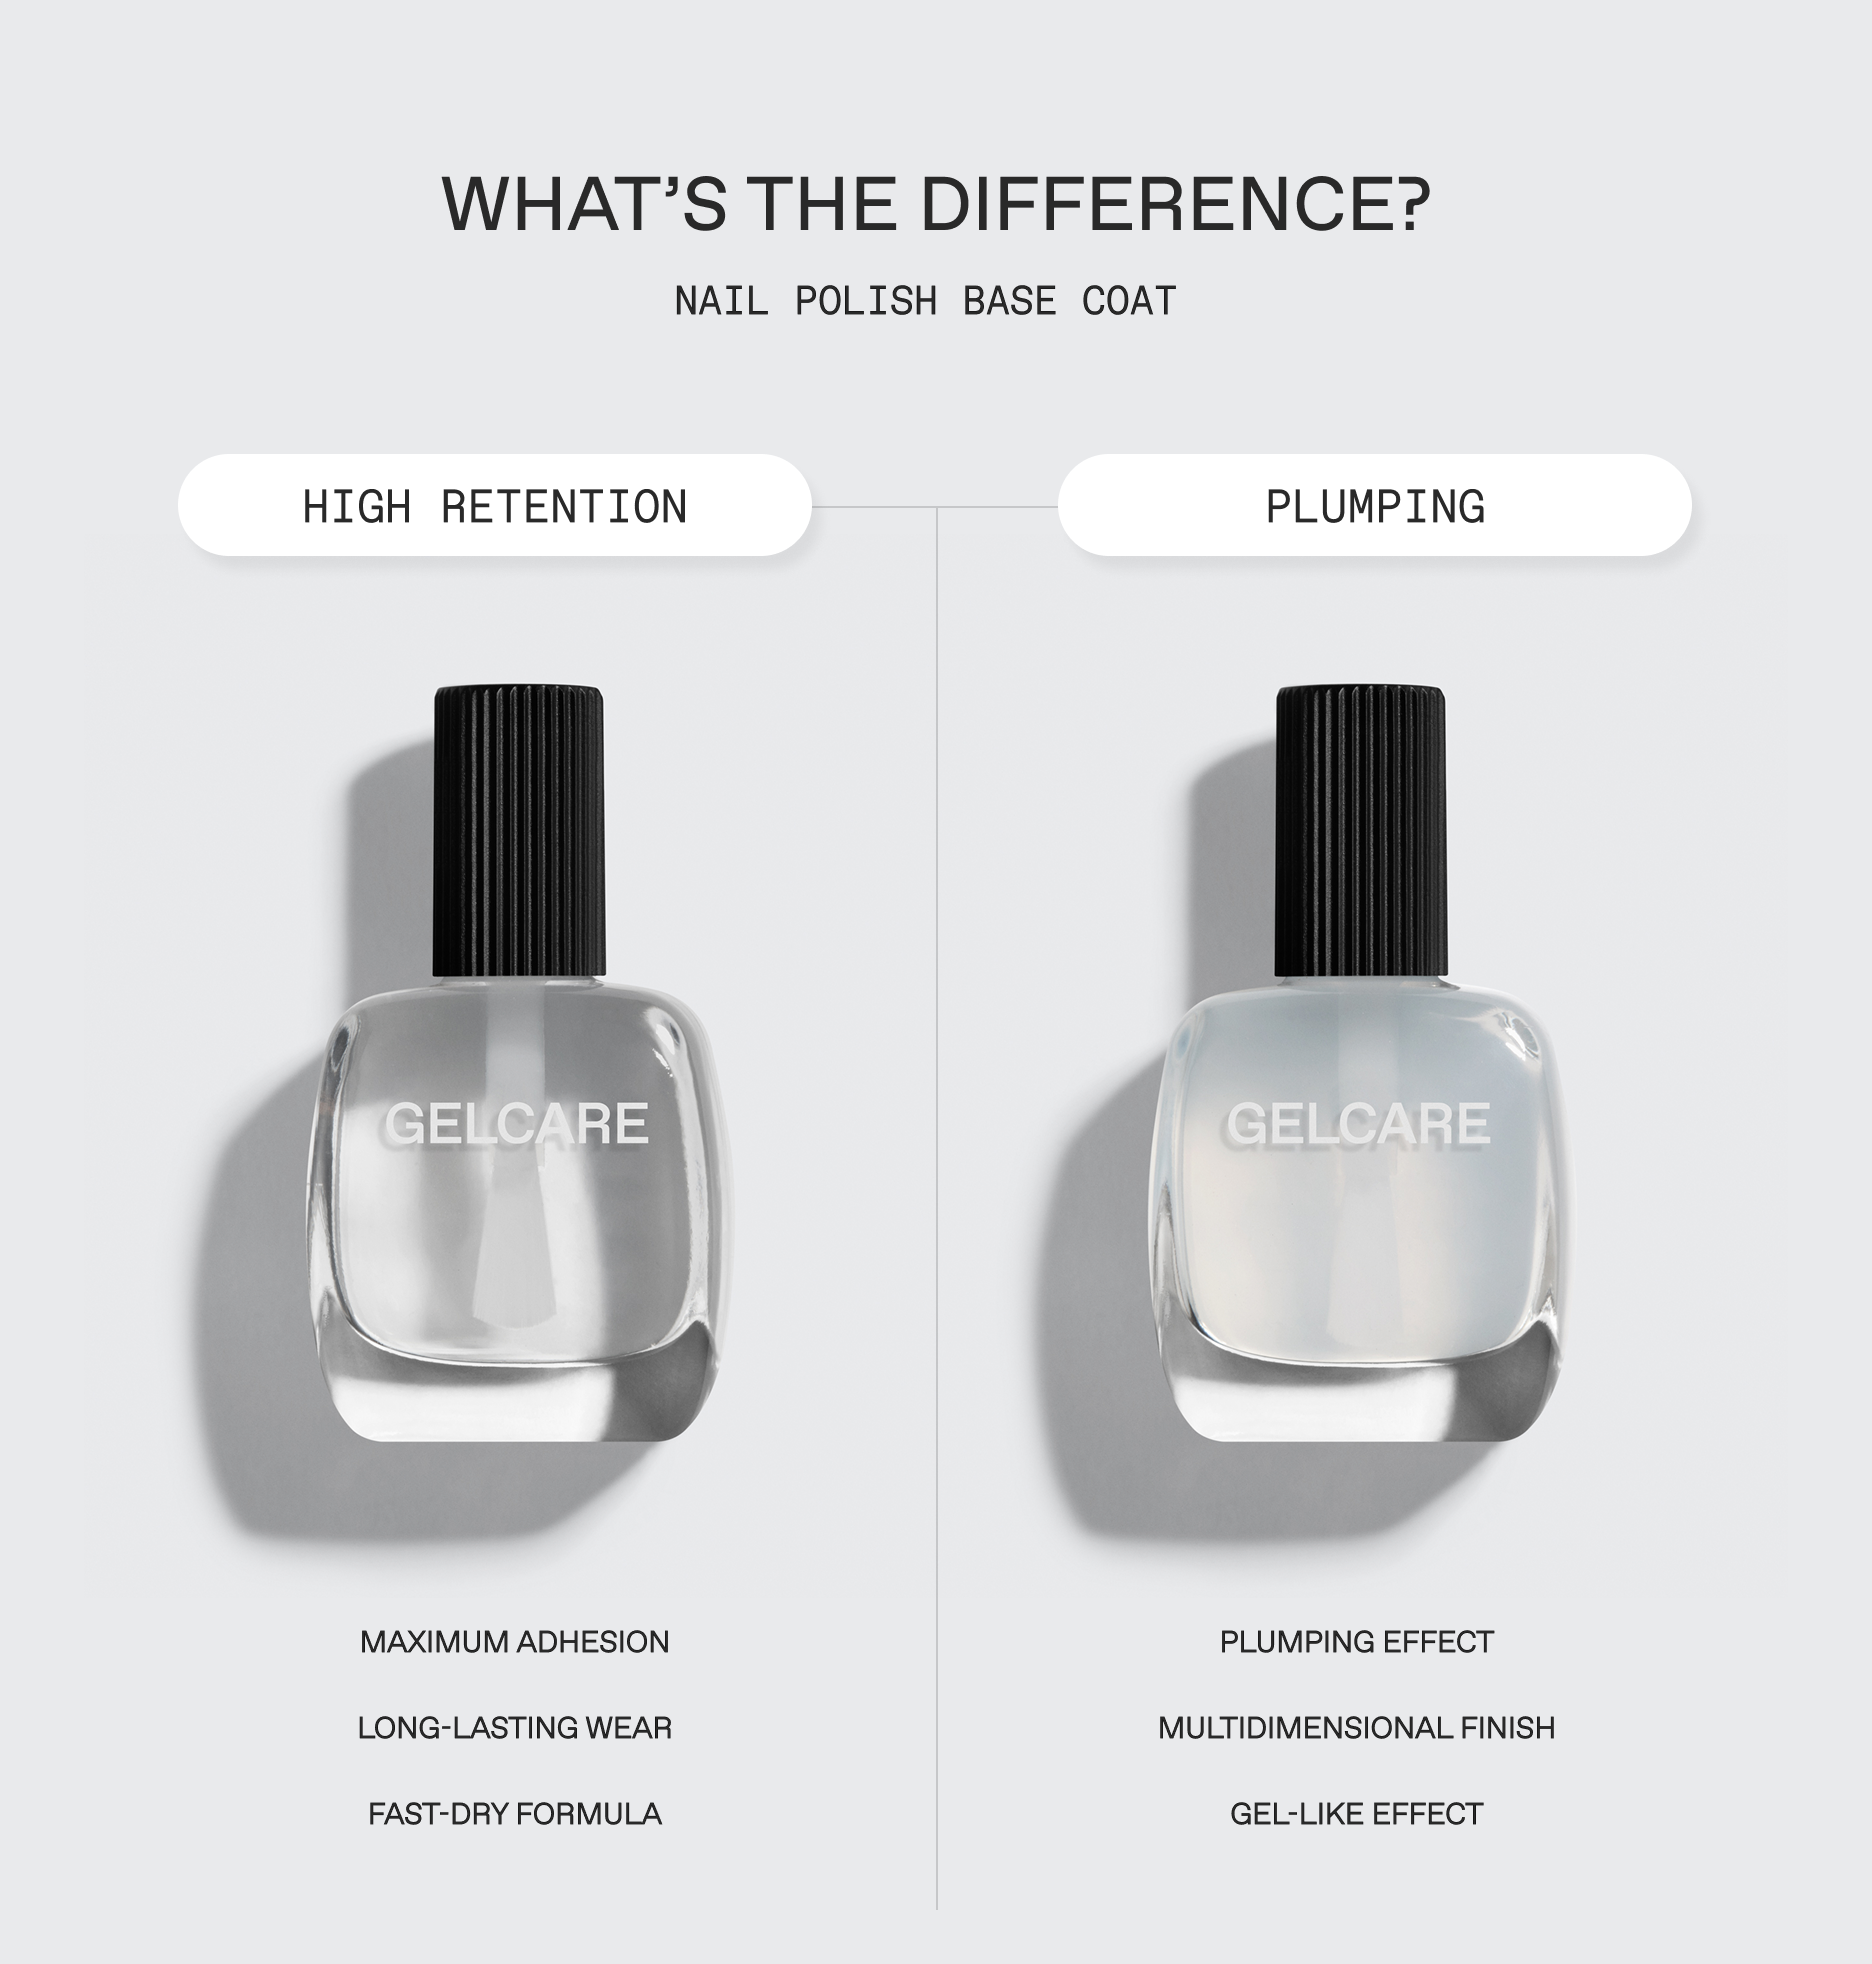
For a flawless, show-stopping finish for a special event, go for the Gelcare Plumping Base Coat. It plumps the nails, enhances shine, and gives that luxurious, polished look. Its thicker consistency requires more precision when applying. Pro tip: Make sure you apply a thin coat and allow extra drying time. The results are worth it; it’s my personal favourite!
For a long-lasting manicure that you can wear all week, try the Gelcare High-Retention Base Coat. It’s designed to prep your nails and keep your polish looking fresh, with less fuss for up to 7 days.
Every product has its perks, and at Gelcare, we want you to have options. We started with our Plumping Base Coat for the ultimate lush finish, but after hearing from our community, we knew some of you wanted a simpler, faster option. Hence, the High-Retention Base Coat, perfect for effortless, long-wear results.

THE SCIENCE BEHIND LONG-WEAR
Here’s the thing: nail polish isn’t gel polish. Gel cures in minutes under a lamp, but regular nail polish needs time to fully set and harden. Even if your manicure feels dry to the touch after 20–30 minutes, each layer continues to bond for 12 to 24 hours, depending on how thick you applied it. During this time, the liquid components slowly merge and solidify, creating a durable, long-lasting finish. Think of it like painting a wall: it might feel dry, but bumping into it too soon can leave marks.
Chipping is a natural part of nail polish life, but our goal is a flawless manicure for at least five days. As the polish dries, it gradually becomes more rigid, which can make it fragile over time. The challenge is finding the right balance between drying efficiently without becoming brittle too quickly. With our formulas, we’ve worked to achieve that balance, aiming for a long-lasting finish that can hold up to seven days of wear.
TIPS AND TRICKS FOR THE BEST RESULTS
So, how do you get your manicure to last a full week? It all comes down to a few simple steps and good habits. Following these rules will not only help your polish last longer, but it’s also a great way to practice skills you’ll need if you ever try gel at home. You’ll get better at prepping your nails, improving your precision when applying product, avoiding the cuticles, and reducing skin contact.
Back to regular nail polish; here are my personal favourite tips for achieving a long-lasting, flawless manicure:
1. Always shower BEFORE, never AFTER. You’ve probably thought, “The excess polish on my skin will just wash off in the shower.” (I’ve done it too…) What I didn’t realize at first is that when polish isn’t fully set, the layers can lift from the natural nails. This is what causes peeling, especially at the tips, so trust me, shower first and avoid disappointing chips later.
2. Prep your nails. Yes, it takes a little extra time, but it makes a huge difference in how long your manicure lasts. Think of it this way: invest a few more minutes now, and you could gain three extra days of wear. Sounds like a fair trade, right?
I like to follow our step-by-step technique, which you can find in our detailed instructions or watch the nail prep section (4:39–11:33) of our How to DIY Gel Manicure | Beginner Step-by-Step GELCARE Tutorial on YouTube.
3. Choose the right basecoat. Yes, a base coat really does make all the difference. Pick the one that fits your goals: if you’re aiming for a quick, long-lasting manicure and know your hands will be busy over the next 24 hours, go with the High-Retention Base Coat. It’s designed to protect your nails and keep your polish looking fresh for longer. If you have a bit more time, try a thin coat of the Plumping Base Coat and let the results amaze you.
4. Clean as you go.Instead of waiting until the end to fix mistakes, I like to keep a clean-up brush handy. After each coat, gently clean the edges with a brush dipped in nail polish remover. This small step keeps your cuticles neat and prevents little smudges from ruining the final result. Trust me, it makes your manicure look effortlessly precise, even on your ‘’wrong hand’’ - if you know, you know.
5. Use a blow-dryer on the cool setting if you’re in a rush.In a rush to leave the house or get back to your day? A cool blow-dryer can help your polish dry in just a few minutes. Just keep in mind: “dry to the touch” doesn’t mean fully set, so handle your nails gently for the next 24 hours to avoid dents, peeling, or chipping.
6. Practice makes perfect. Like anything new, getting the hang of a product or technique takes practice. Formulas like the Plumping Base Coat may feel different at first, but all our formulas are designed for smooth, easy application. The more you practice, the more confident you’ll become, and you’ll see your results improve faster than you’d expect!
If you’ve read all the way through, you’re more than ready to create your best manicure ever! After years of sticking to gels, I’ve fallen in love with my nail polish routine, and I can’t wait for you to enjoy it as much as I do.
Mylène xx